To install the JSON Schema App directly from our website on your Squarespace website, follow these
steps:
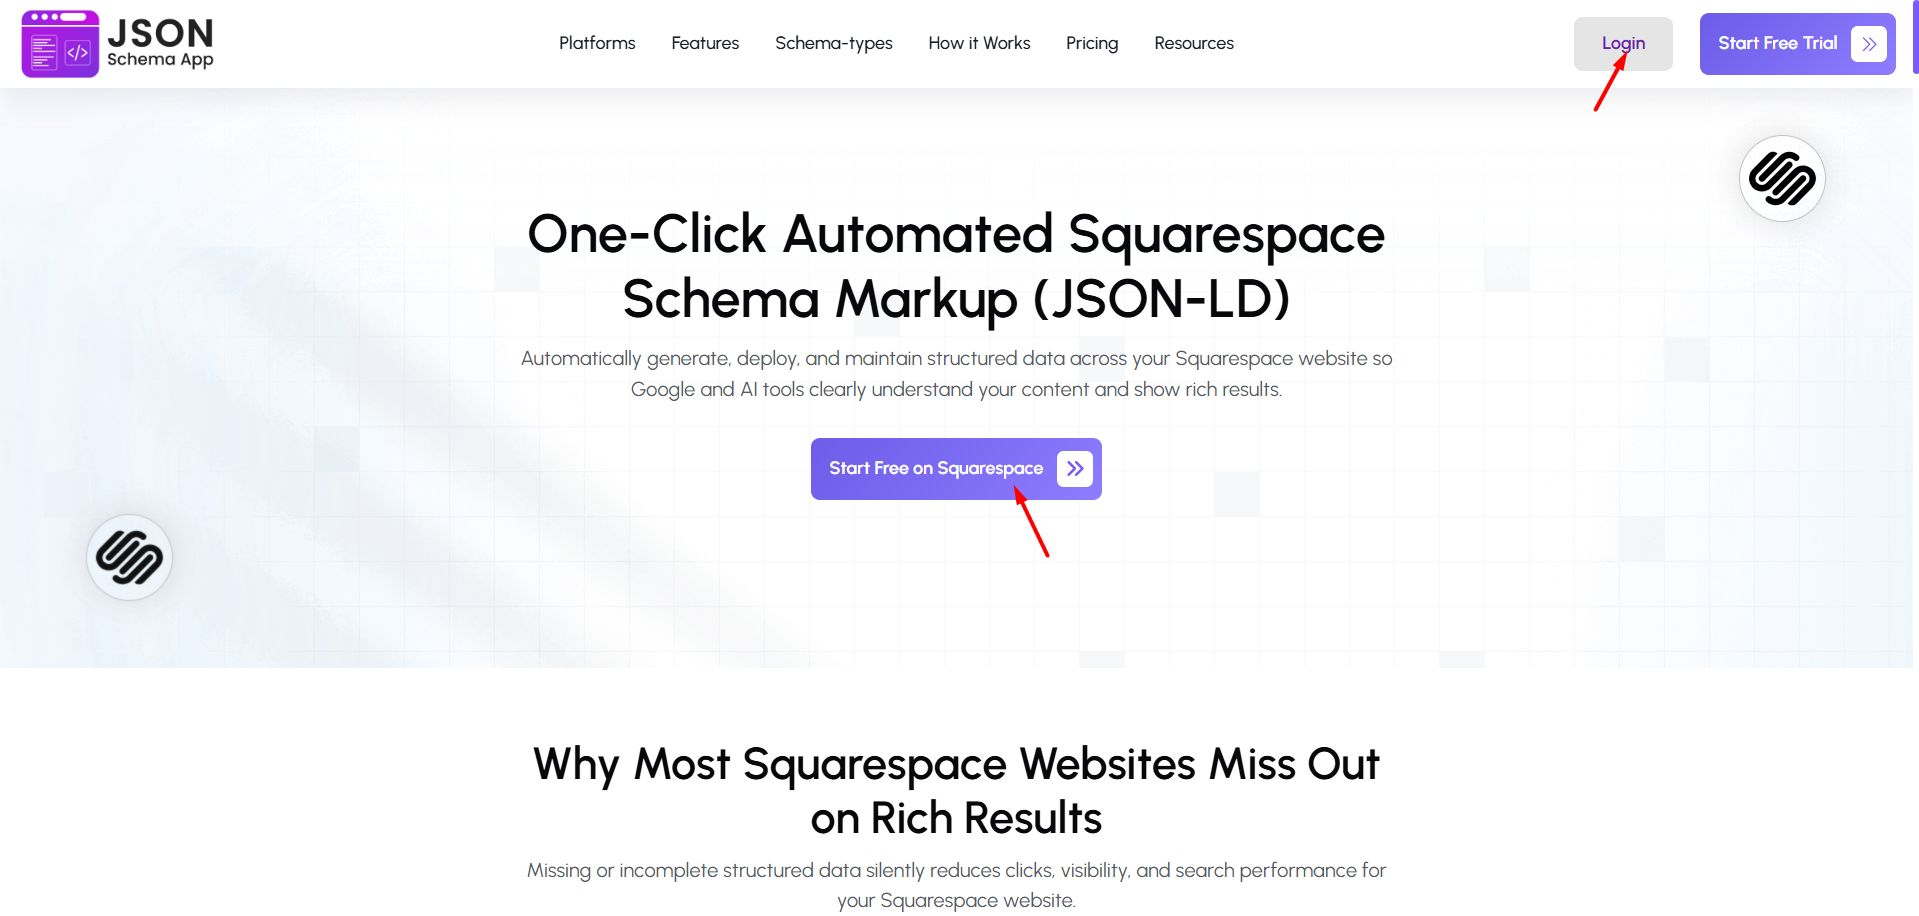
Step 1: Go to the JSON Schema App website and log in to your account. If you do not have an
account, click Start Free on Squarespace button and create an account.
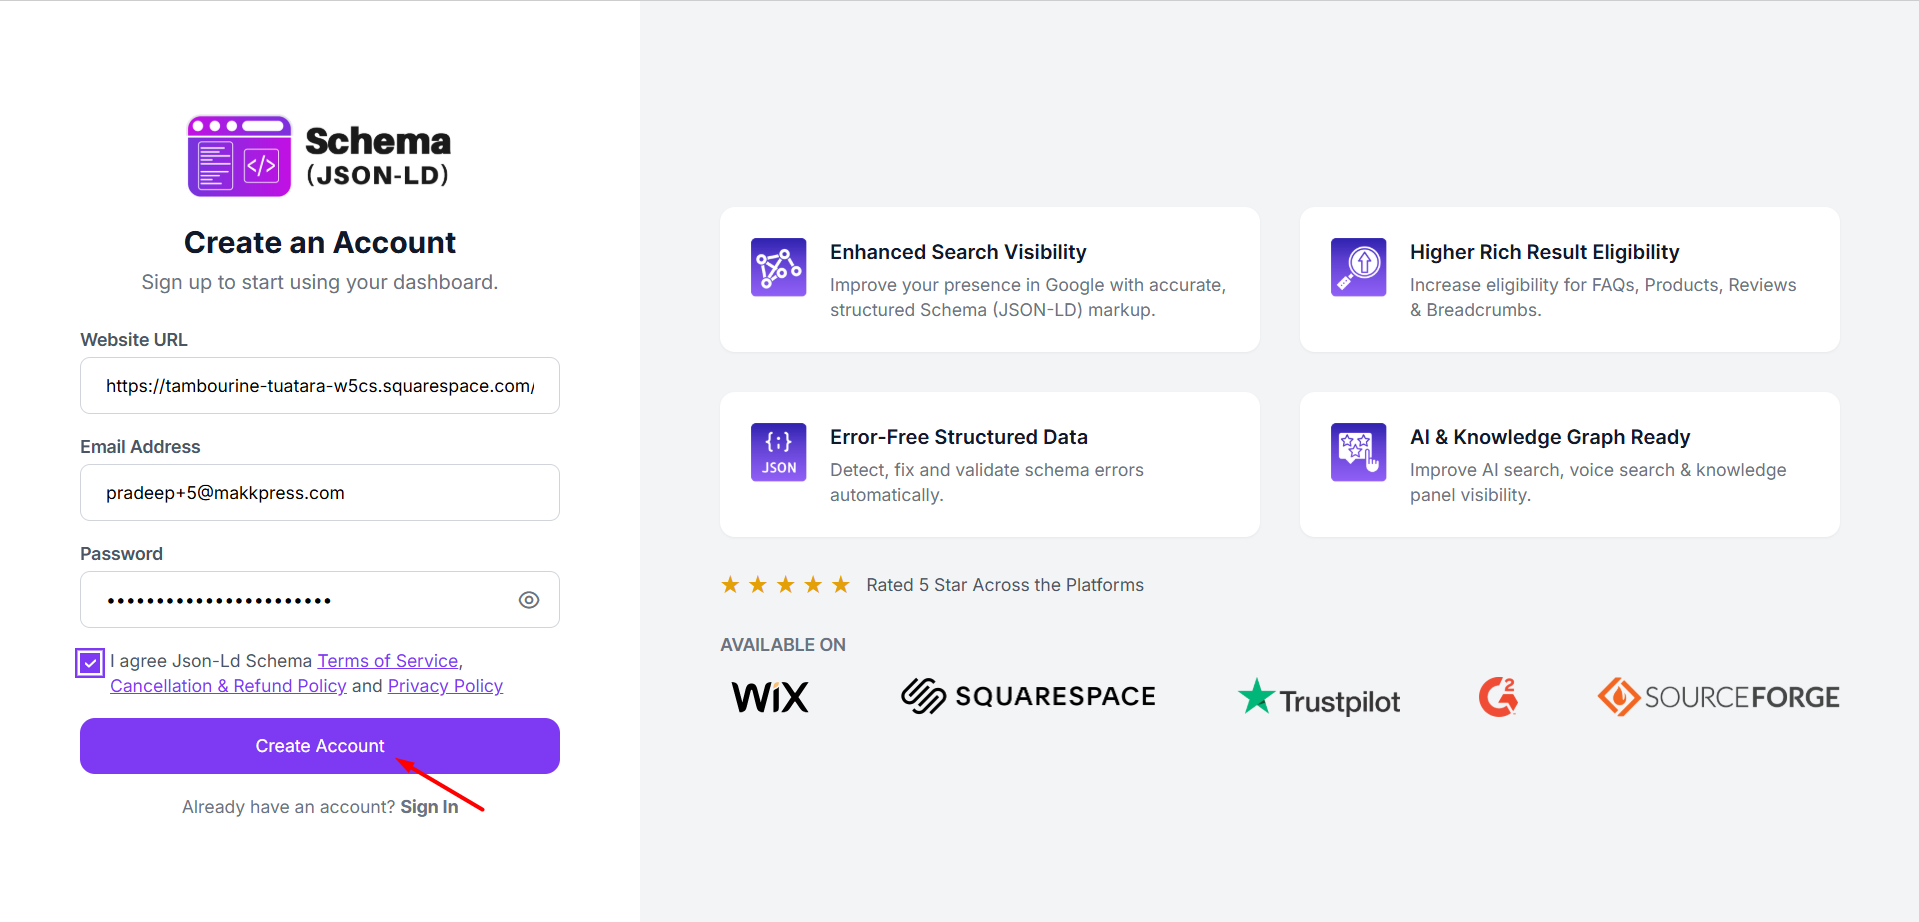
Step 2: Enter your website URL, email address, and password to create your account.
After filling in the details, click Create Account to proceed.
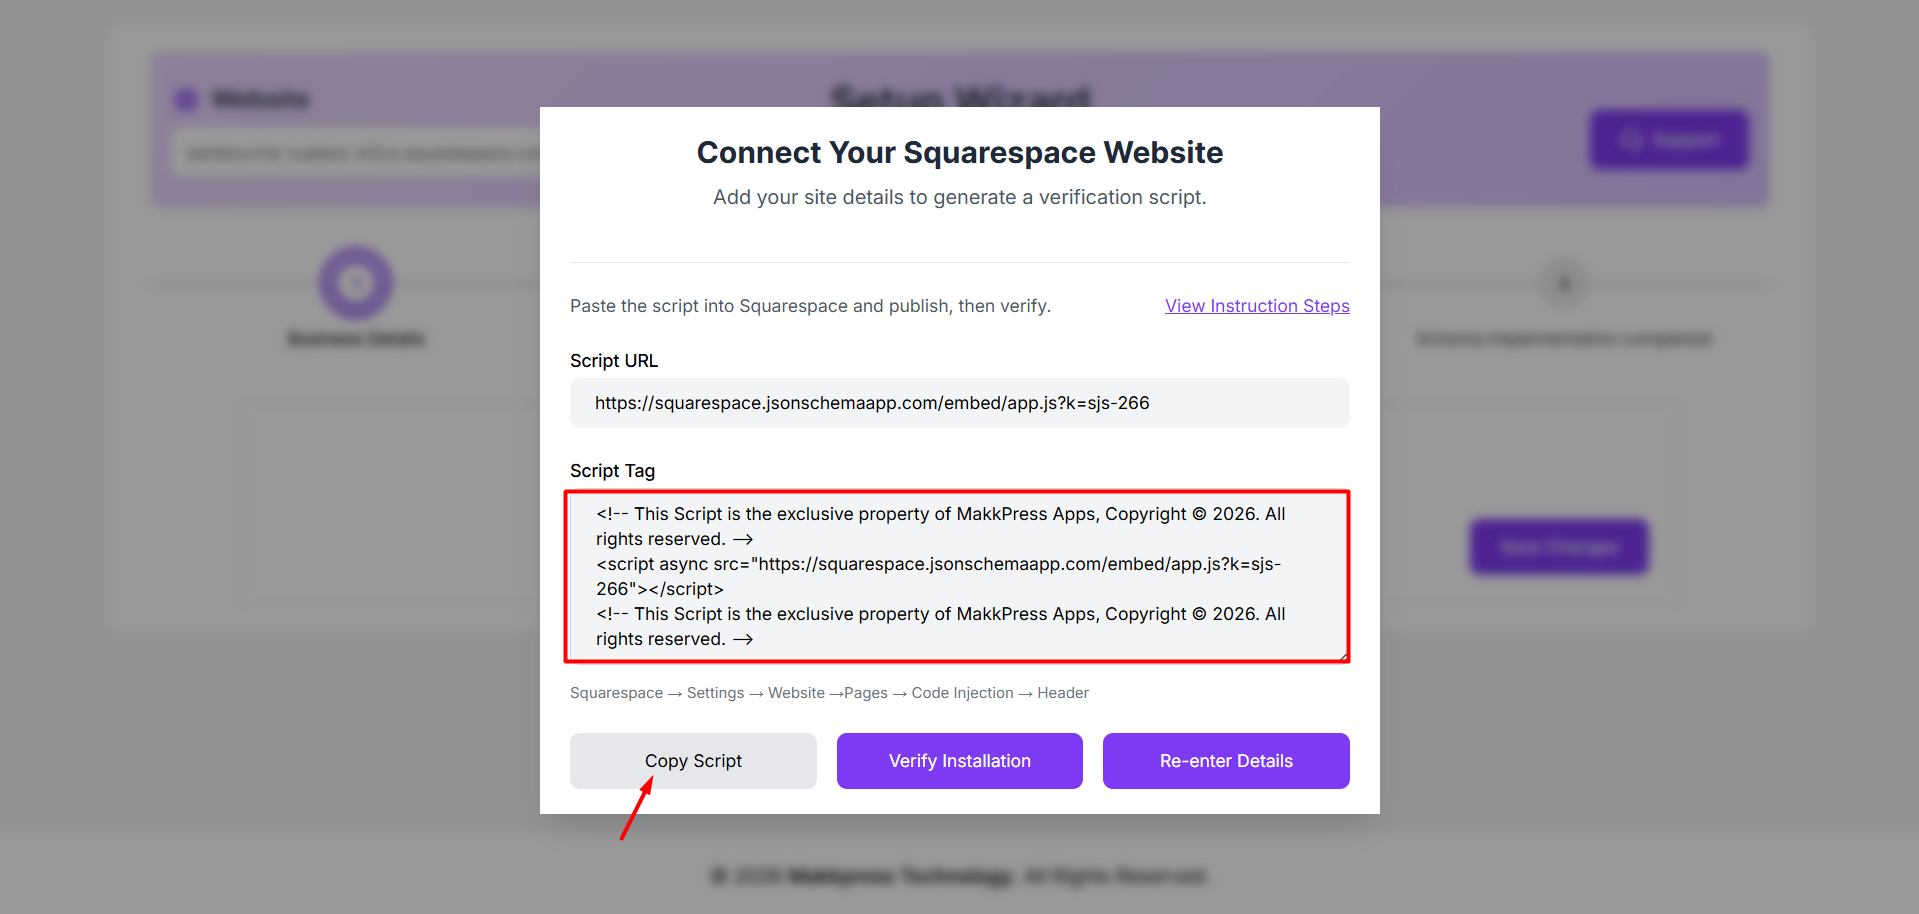
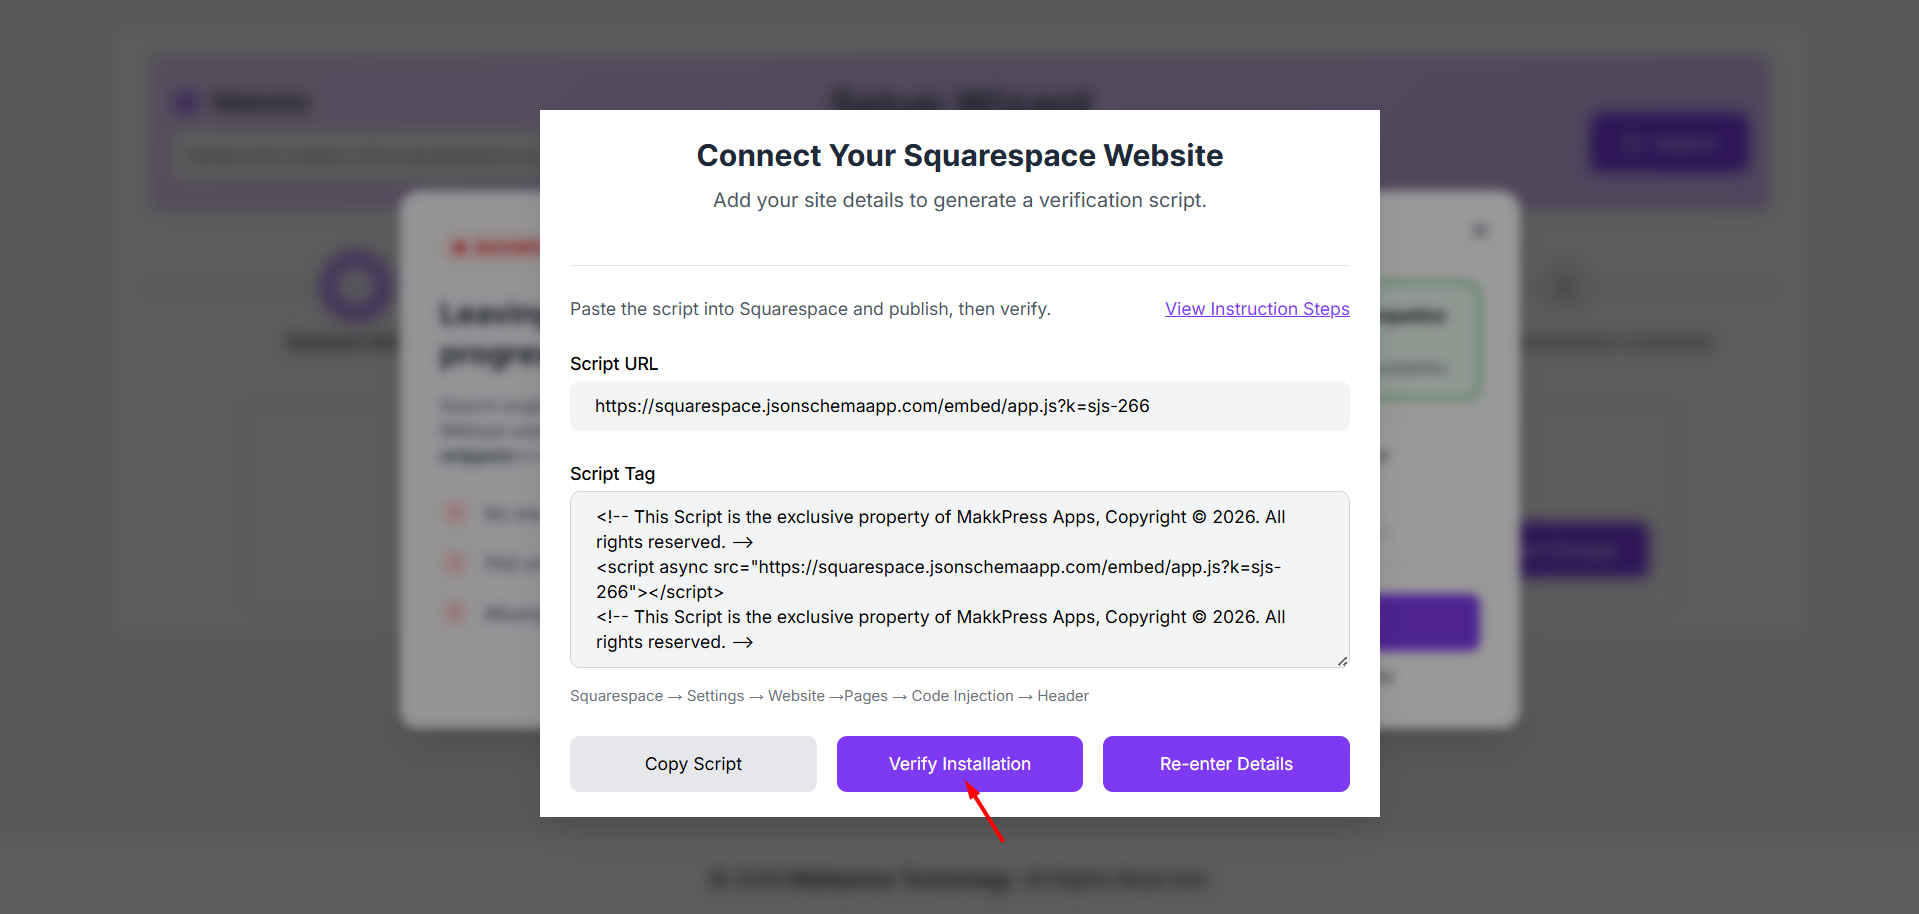
Step 3: In the Setup Wizard, copy the generated script tag by clicking “Copy Script.” This script will
be added to your Squarespace store to verify the JSON Schema App.
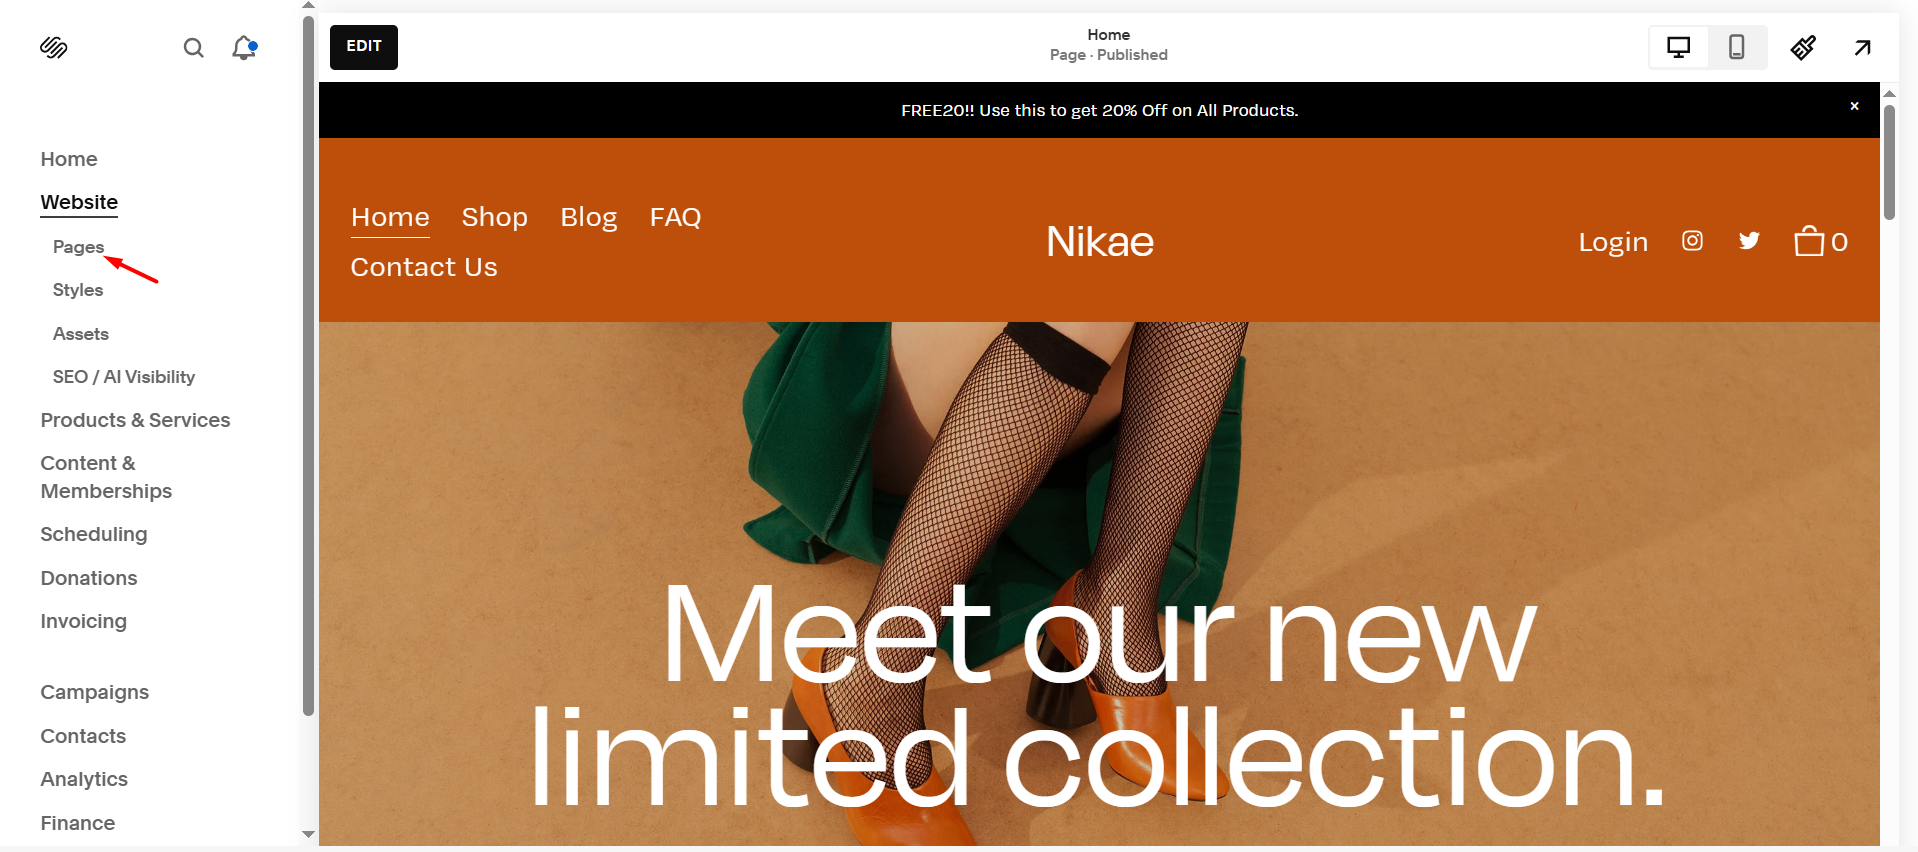
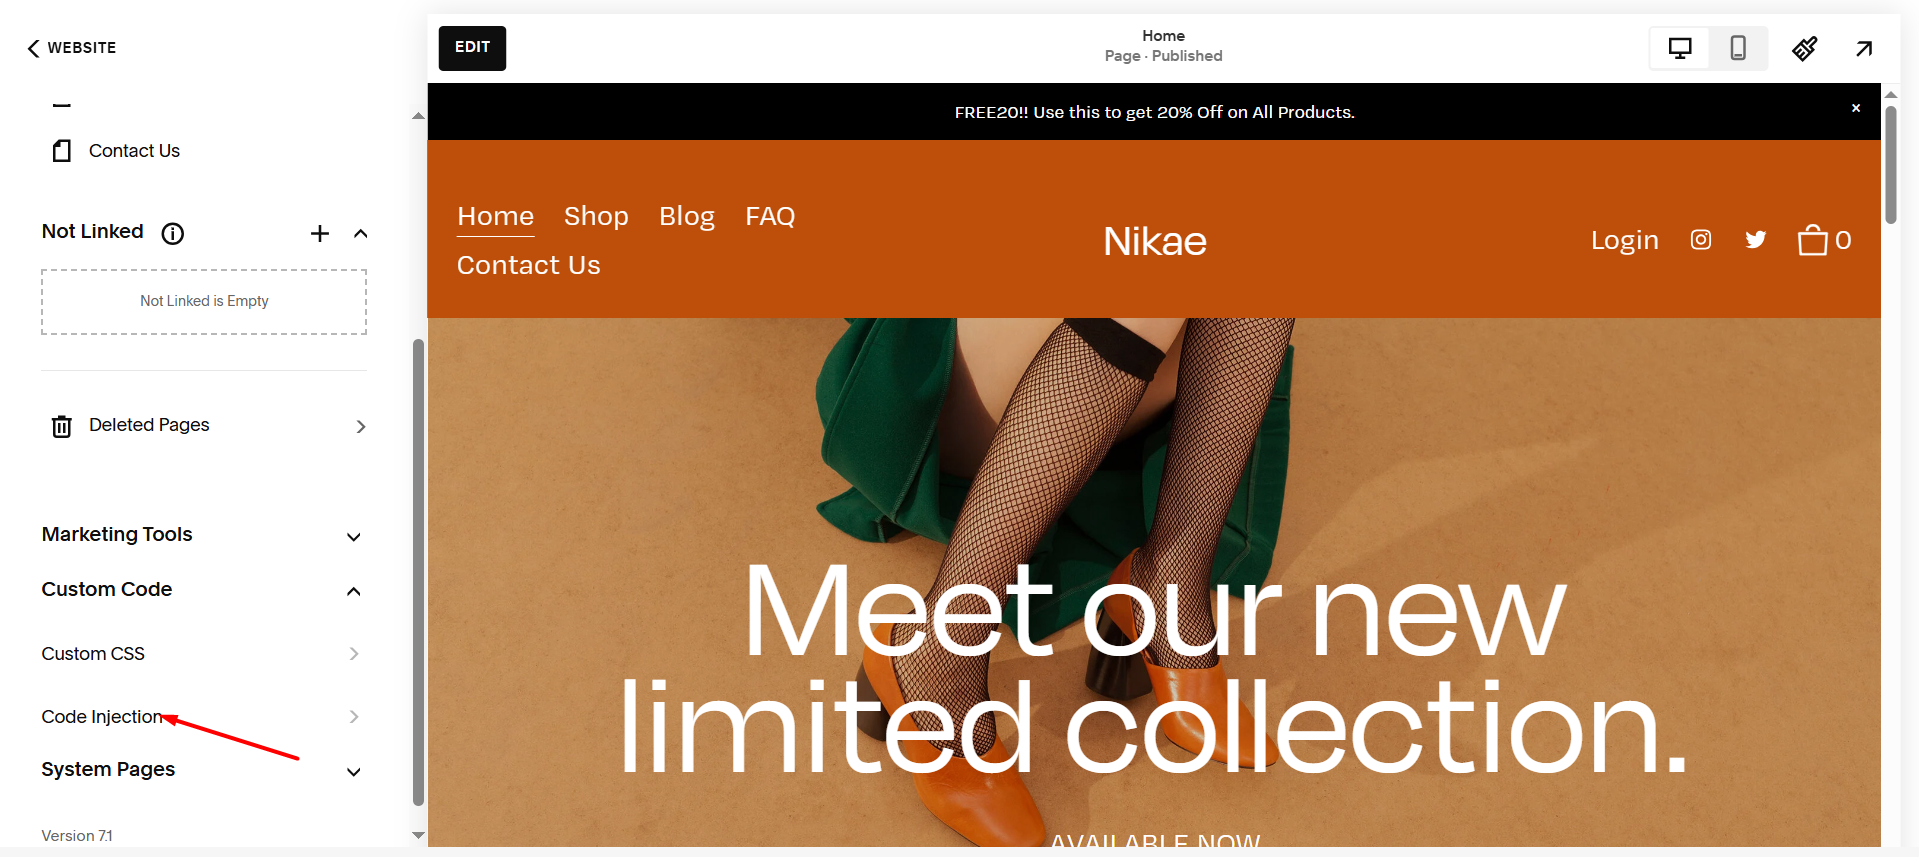
Step 4: Log in to your Squarespace account and open your website dashboard. From the left-hand menu,
click on Pages to access your site pages.
Step 5: Scroll down in the left menu and click on Custom Code, then select Code Injection. This is where you will add the verification script provided by the app.
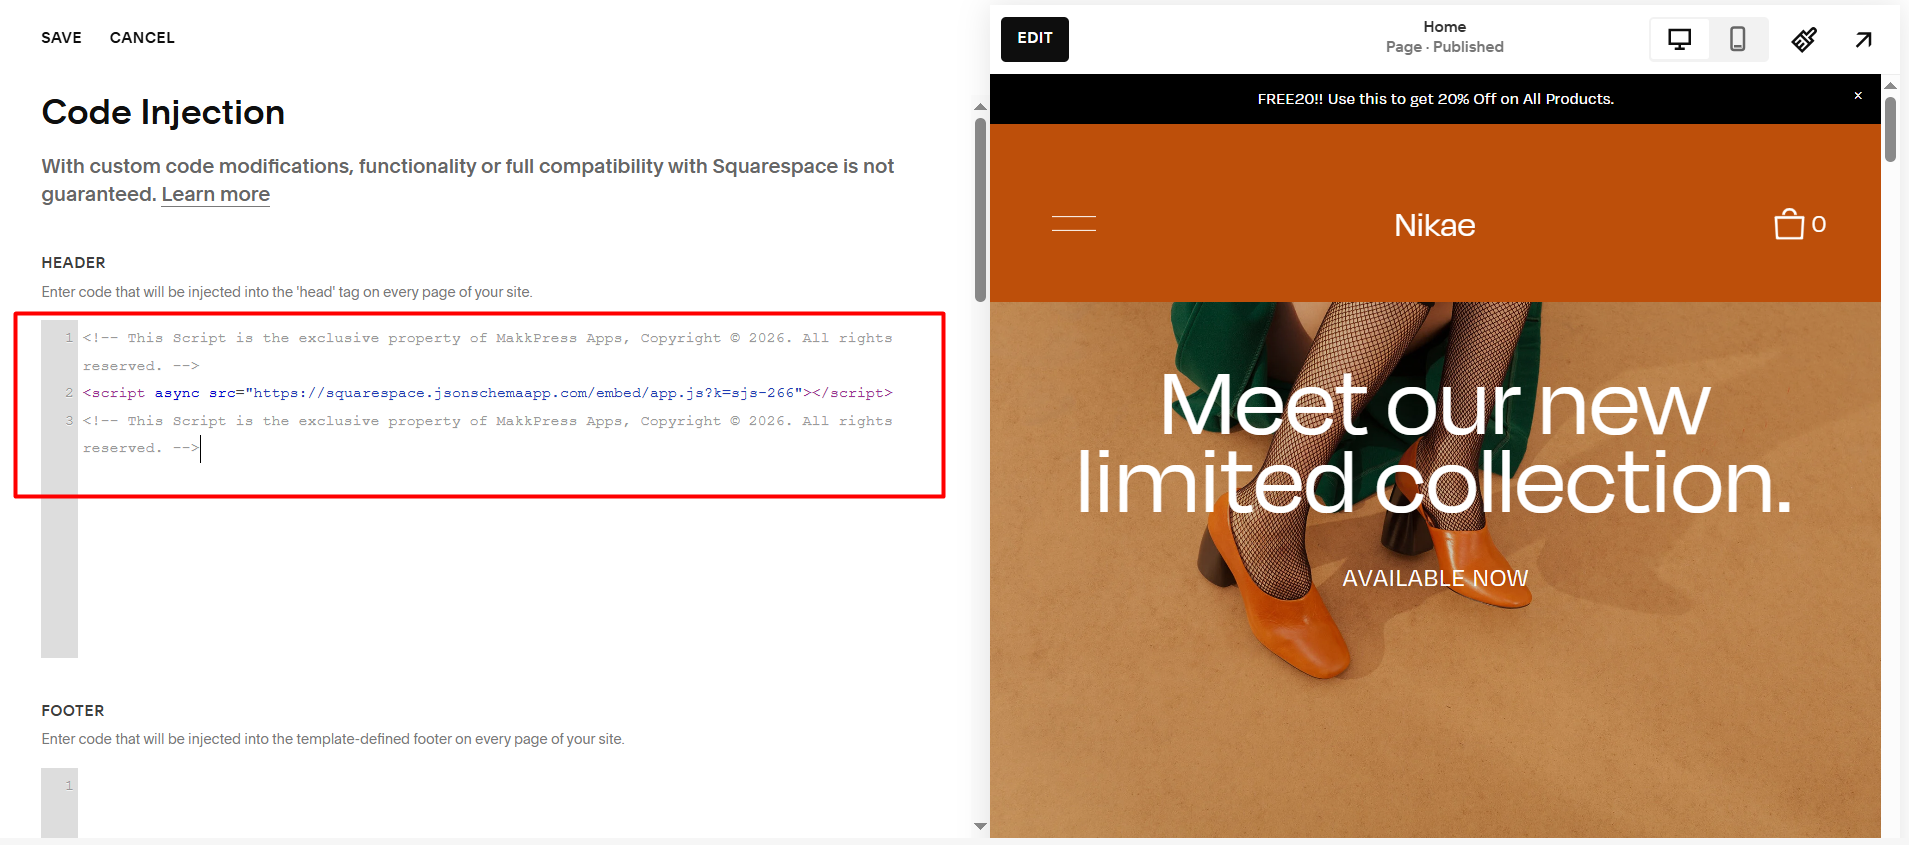
Step 6: Paste the copied script into the Header section under Code Injection. After adding the code, click Save to apply the changes to your website.
Step 7: Go back to the JSON Schema App and click Verify Installation. The app will check if the script is correctly added and complete the connection process.
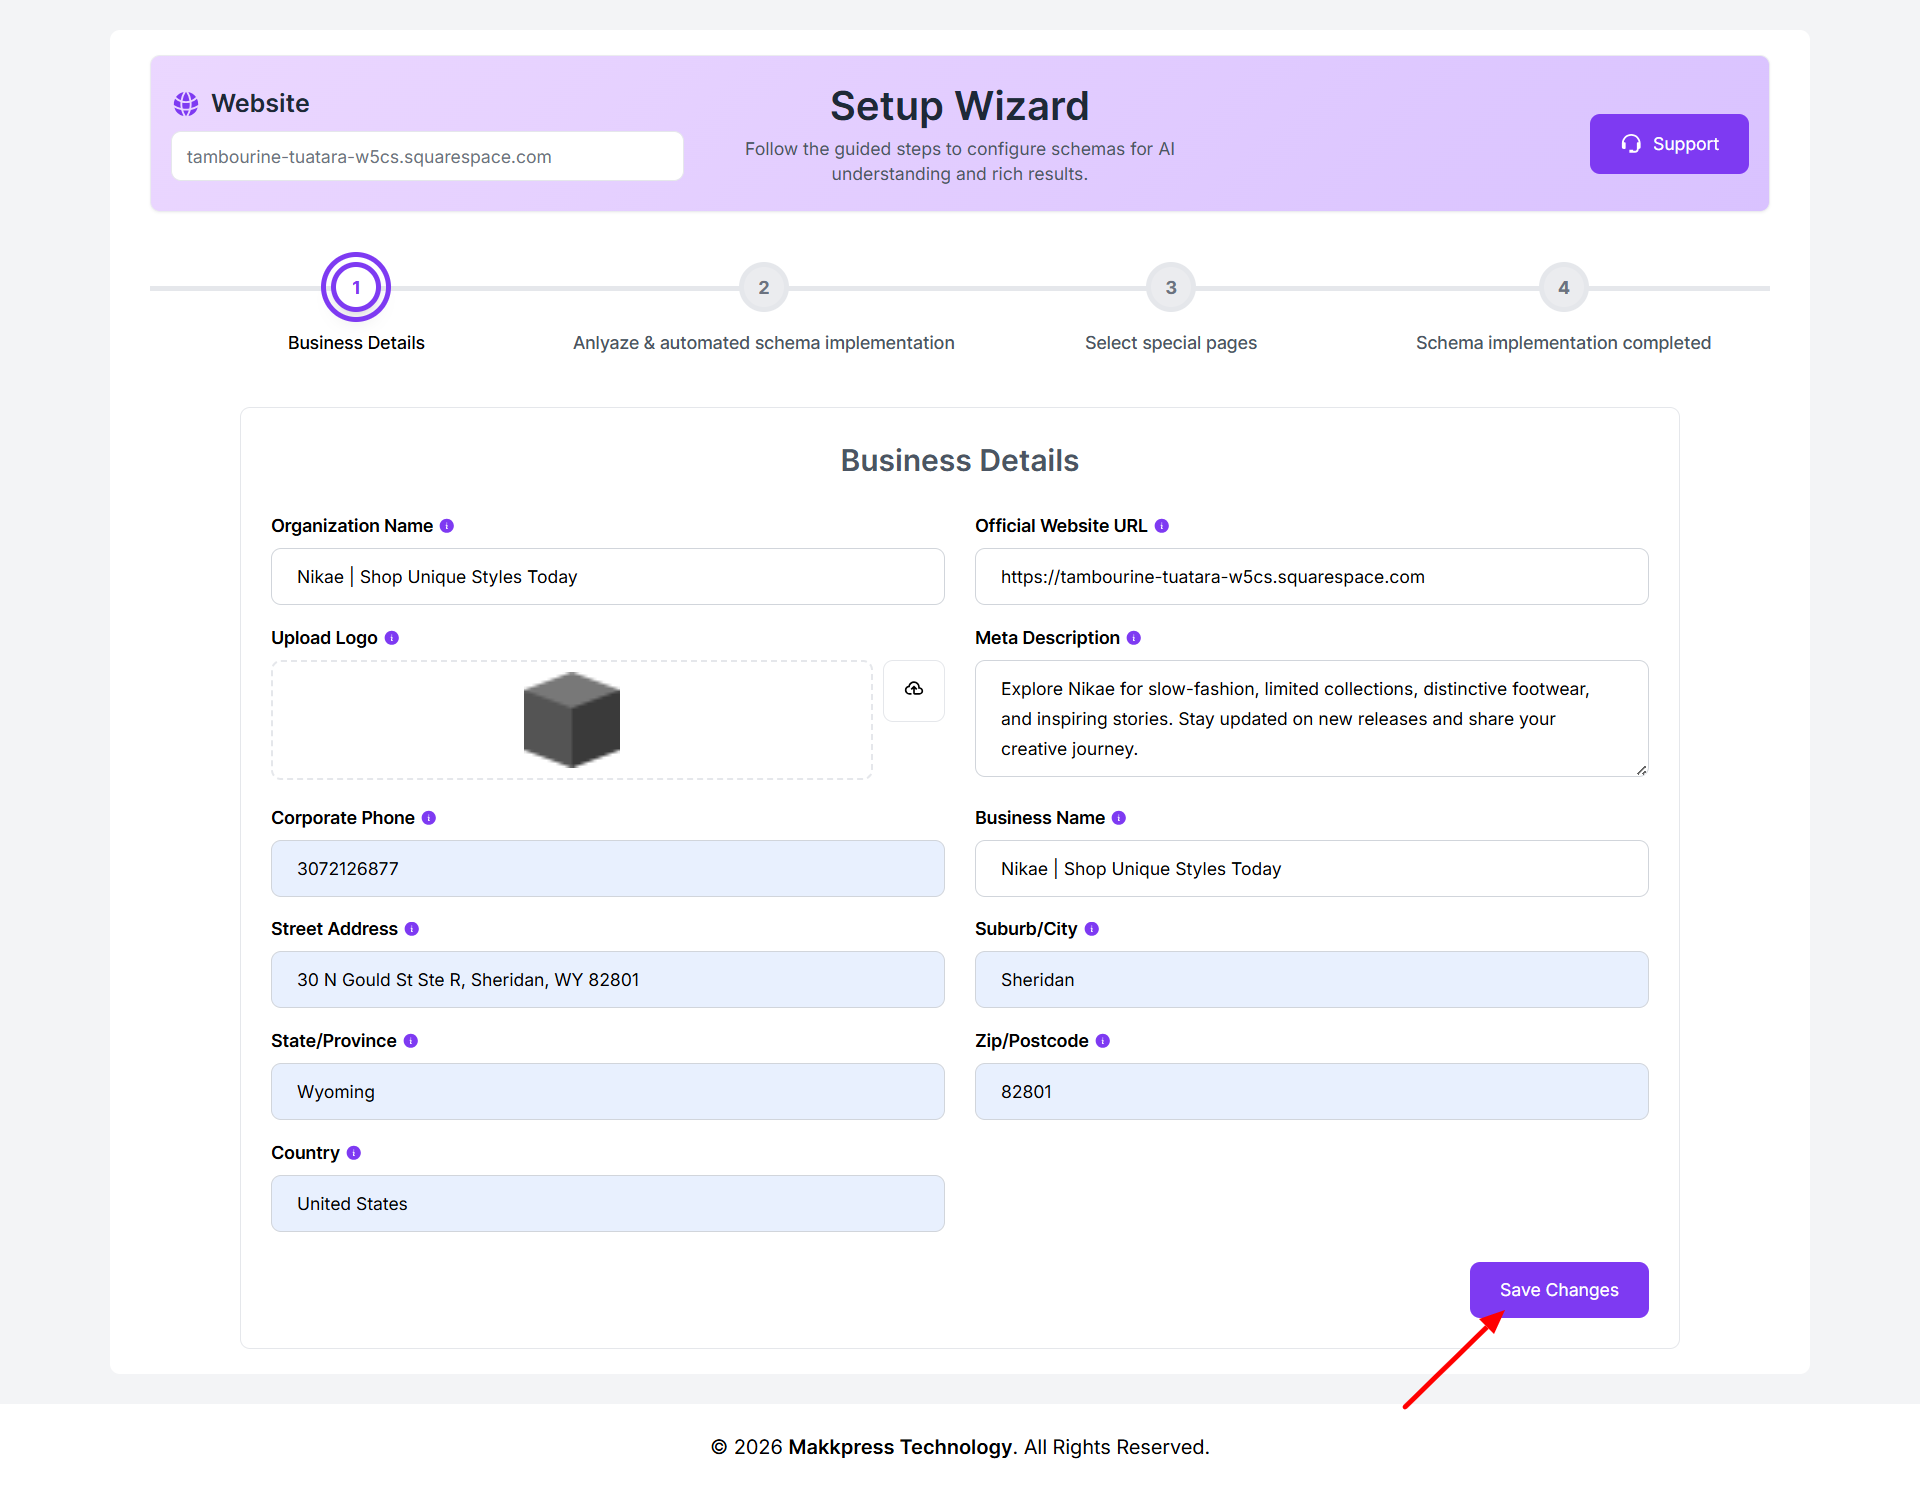
Step 8: Enter your business information such as organization name, website URL, logo, and contact details. Once all details are filled in, click to proceed
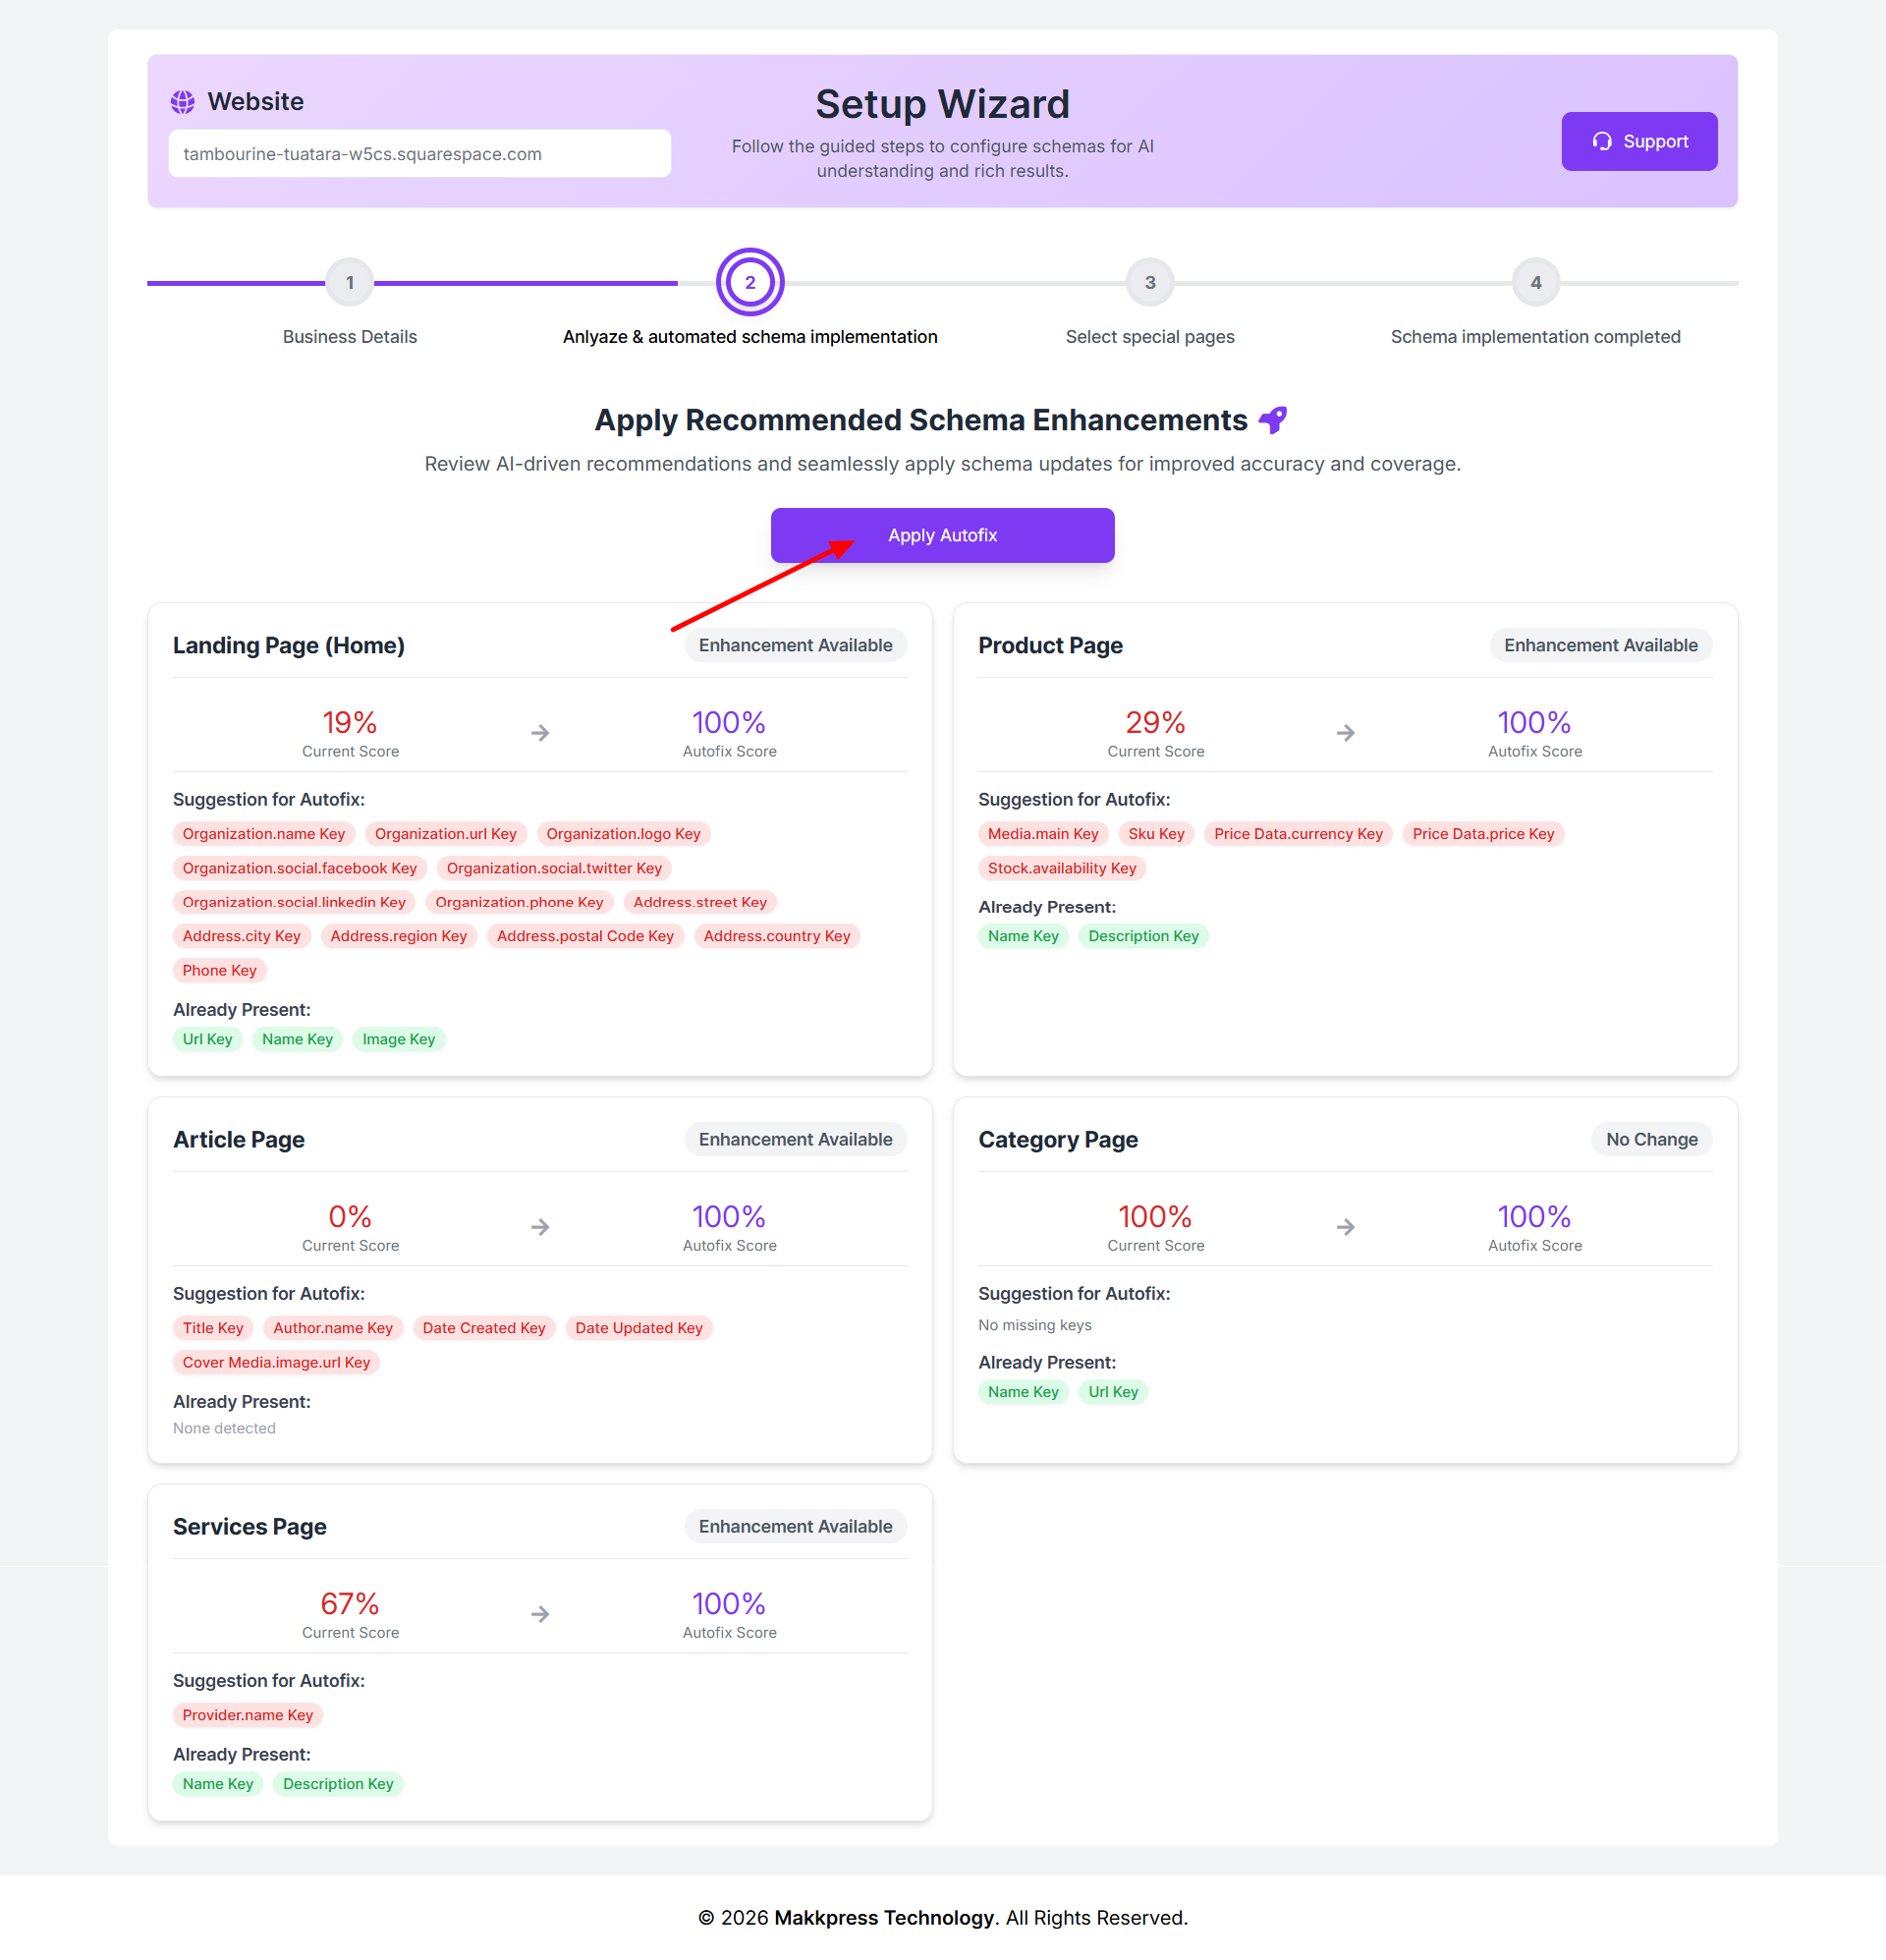
Step 9: Review the suggested schema improvements for your pages and click Apply Autofix. The app will automatically add missing schema fields and optimize your structured data for better coverage and accuracy.
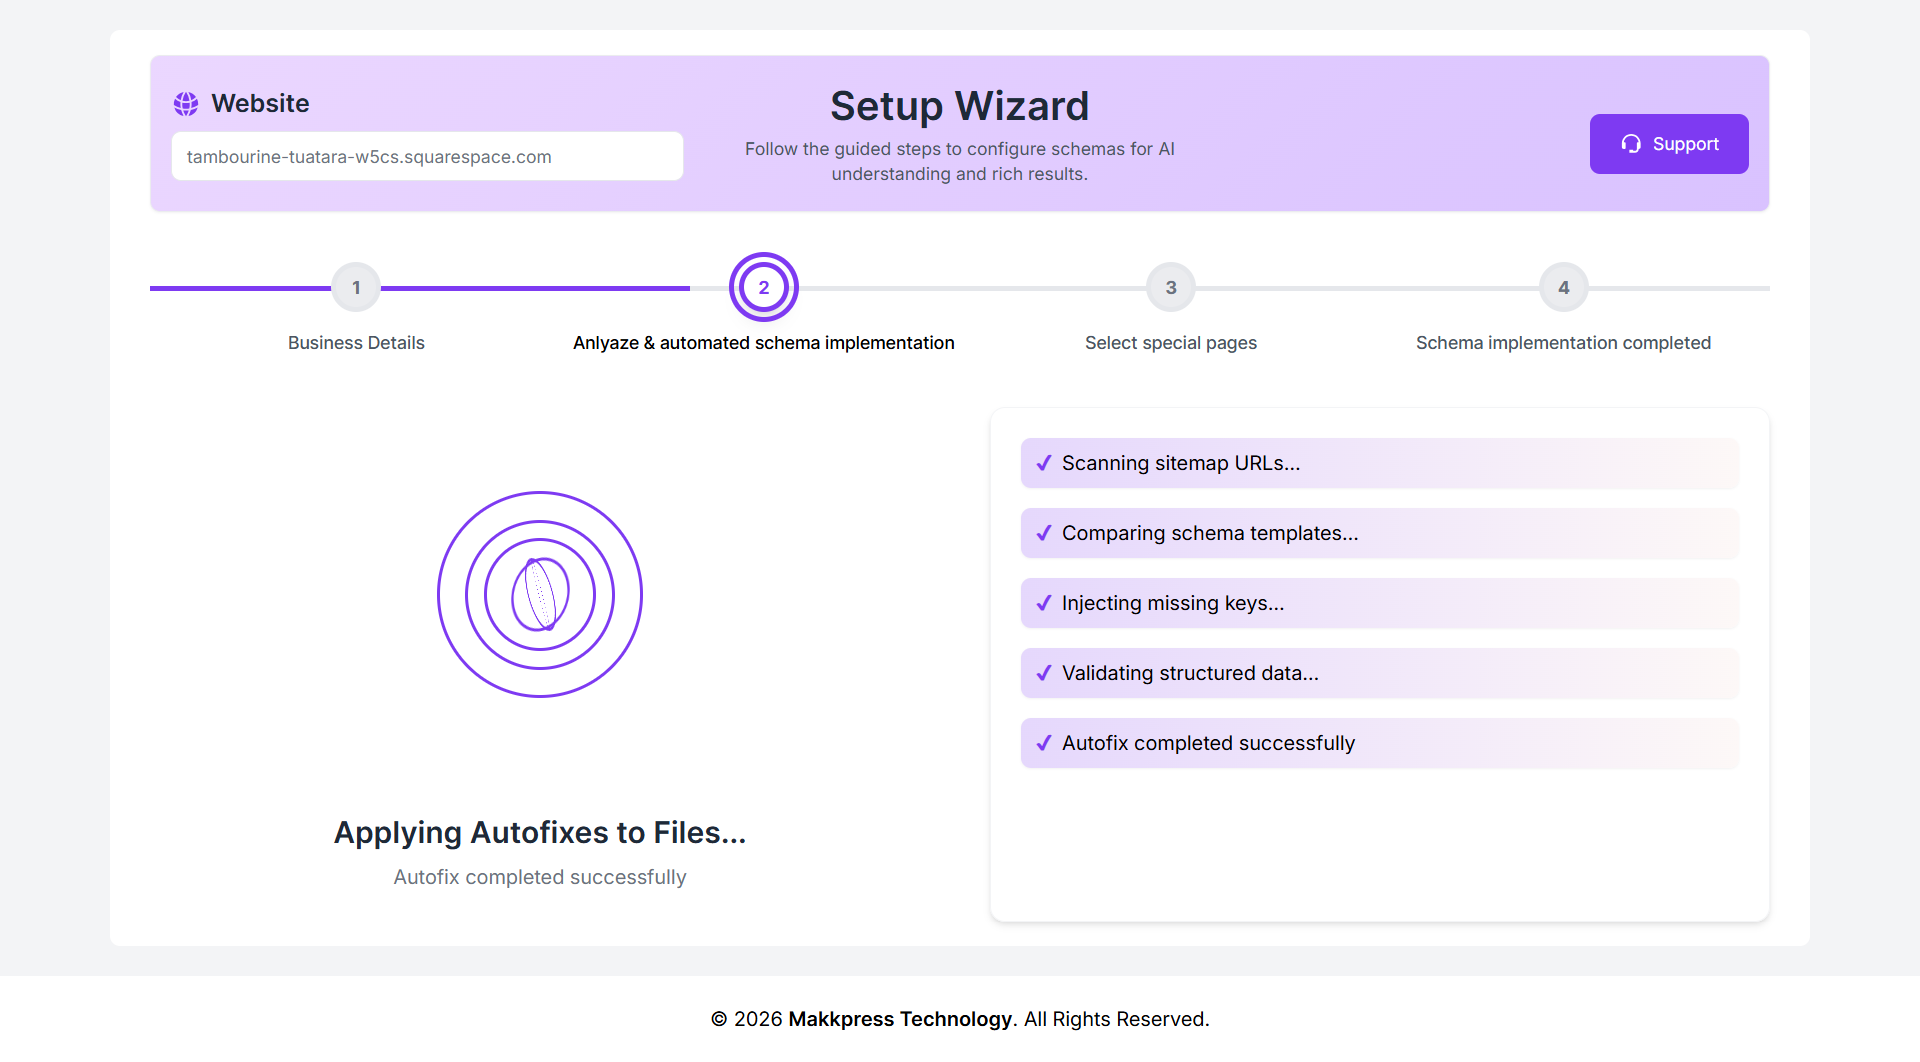
Step 10: Once the process is complete, your schema is successfully applied to your website. The app automatically scans, validates, and implements structured data without any manual effort.
Your Squarespace website is now ready for better search visibility and rich results.
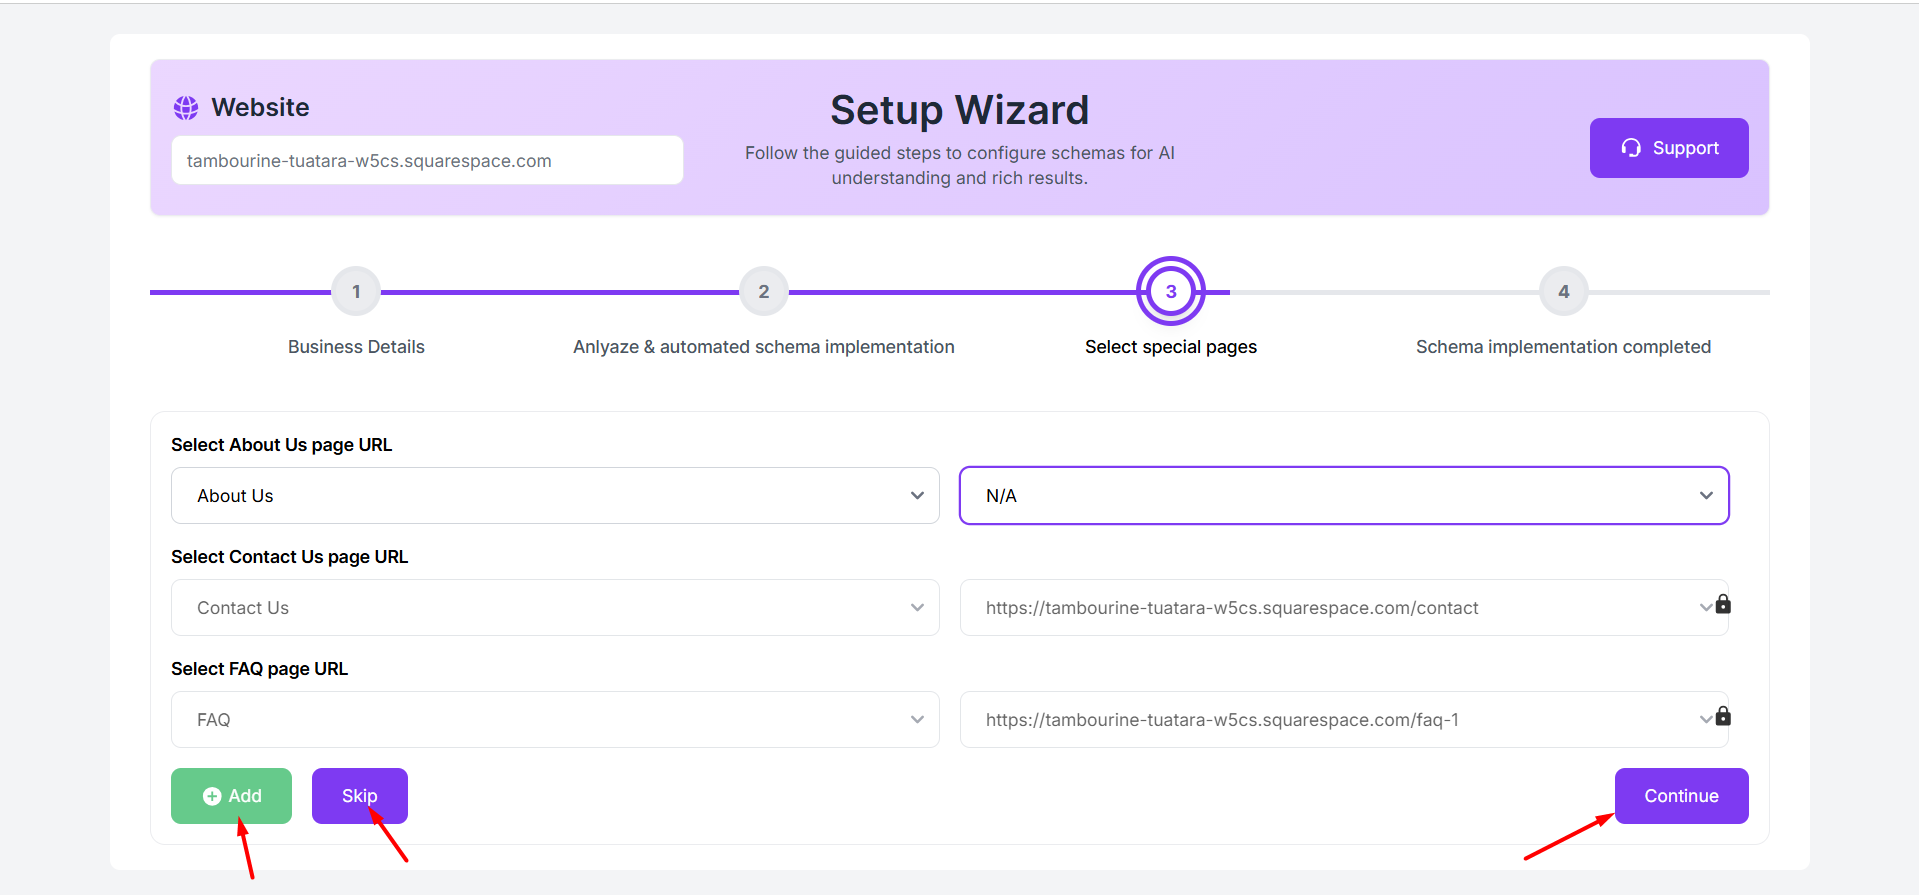
Step 11: Select important pages like About Us, Contact Us, and FAQ from the dropdown options. You can also skip this step if not needed. Once selected, click Continue to proceed.
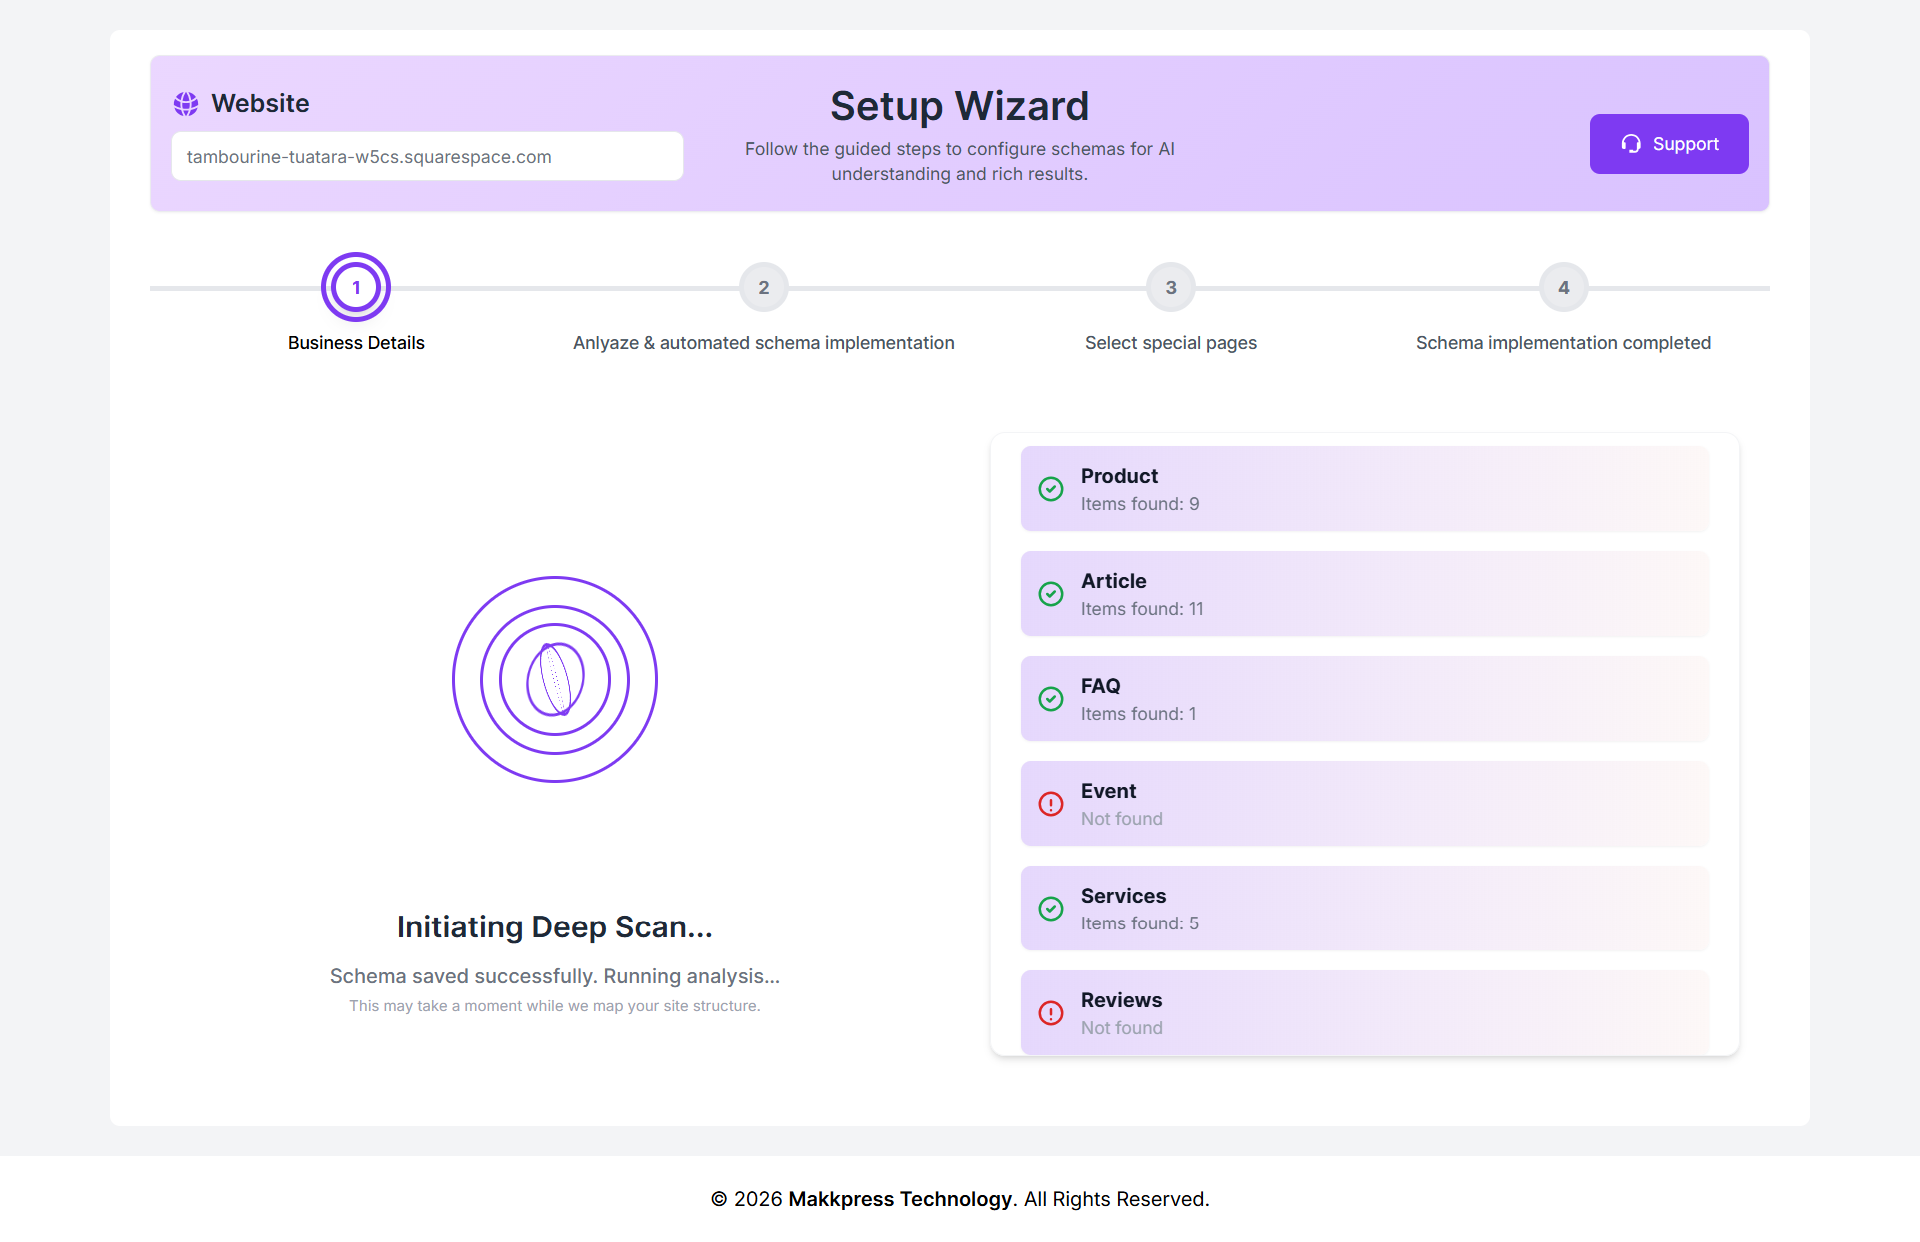
Step 12: The app starts a deep scan of your website to detect available content types such as products, articles, FAQs, and services. It automatically identifies what schema can be applied and prepares your site for optimization.
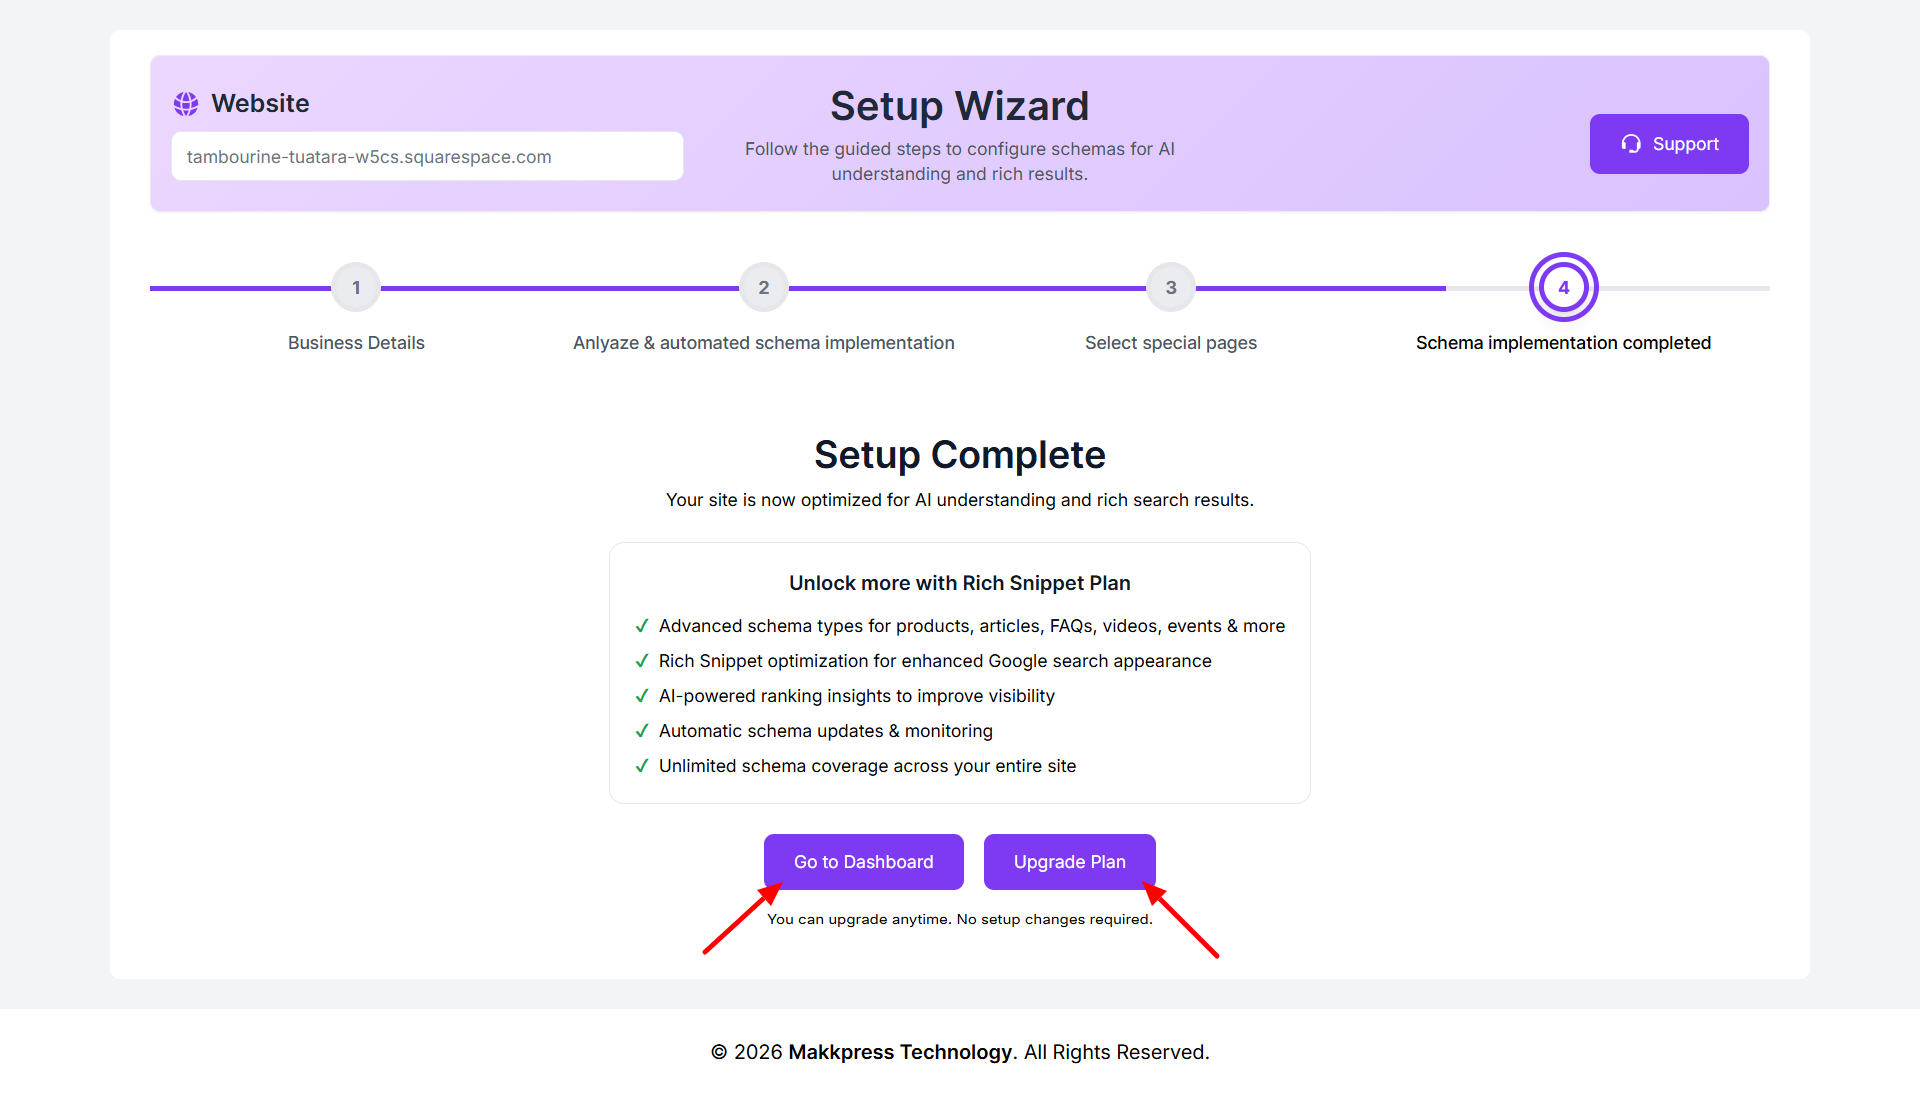
Step 13: Click Go to Dashboard to manage your schema, or choose Upgrade Plan to unlock advanced features and enhanced rich result capabilities.
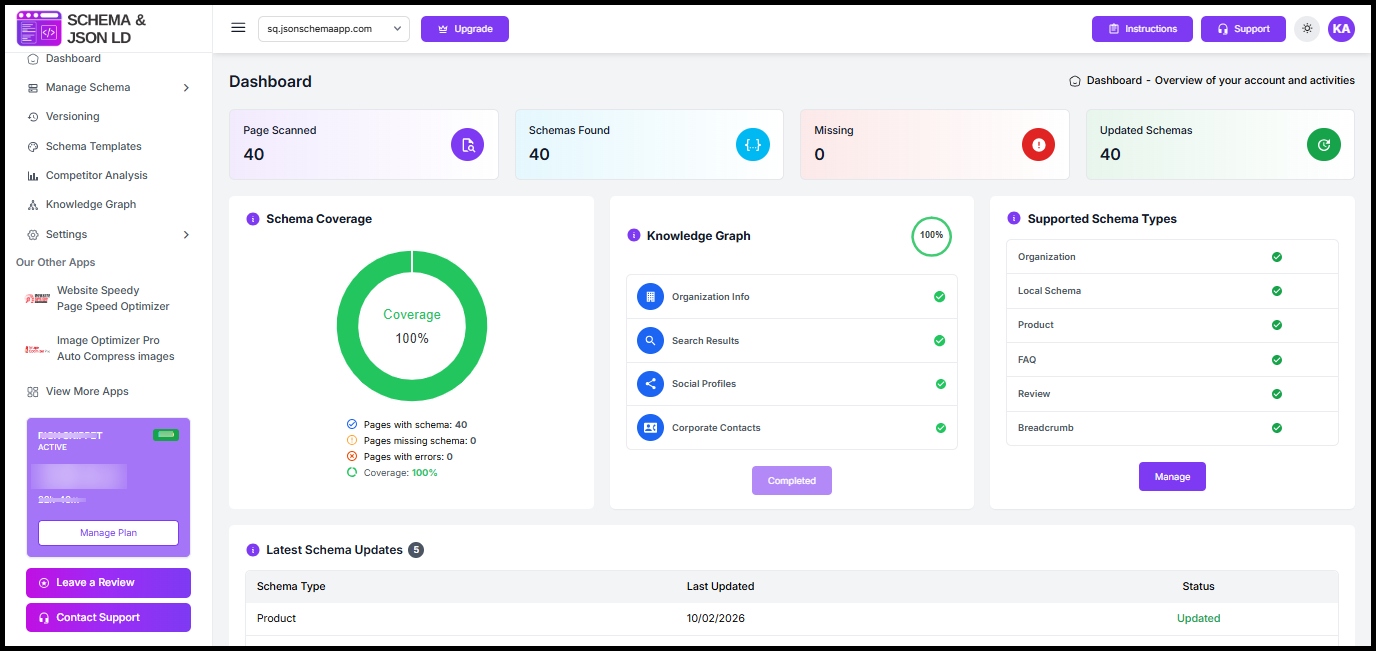
Step 14: After setup, you will be redirected to your dashboard. Here, you can view schema coverage, detected schemas, and manage your structured data across the website.
Found this helpful?
( 14 out of 24 found helpful )
