To set up the JSON Schema App on your Tilda website, follow these steps:
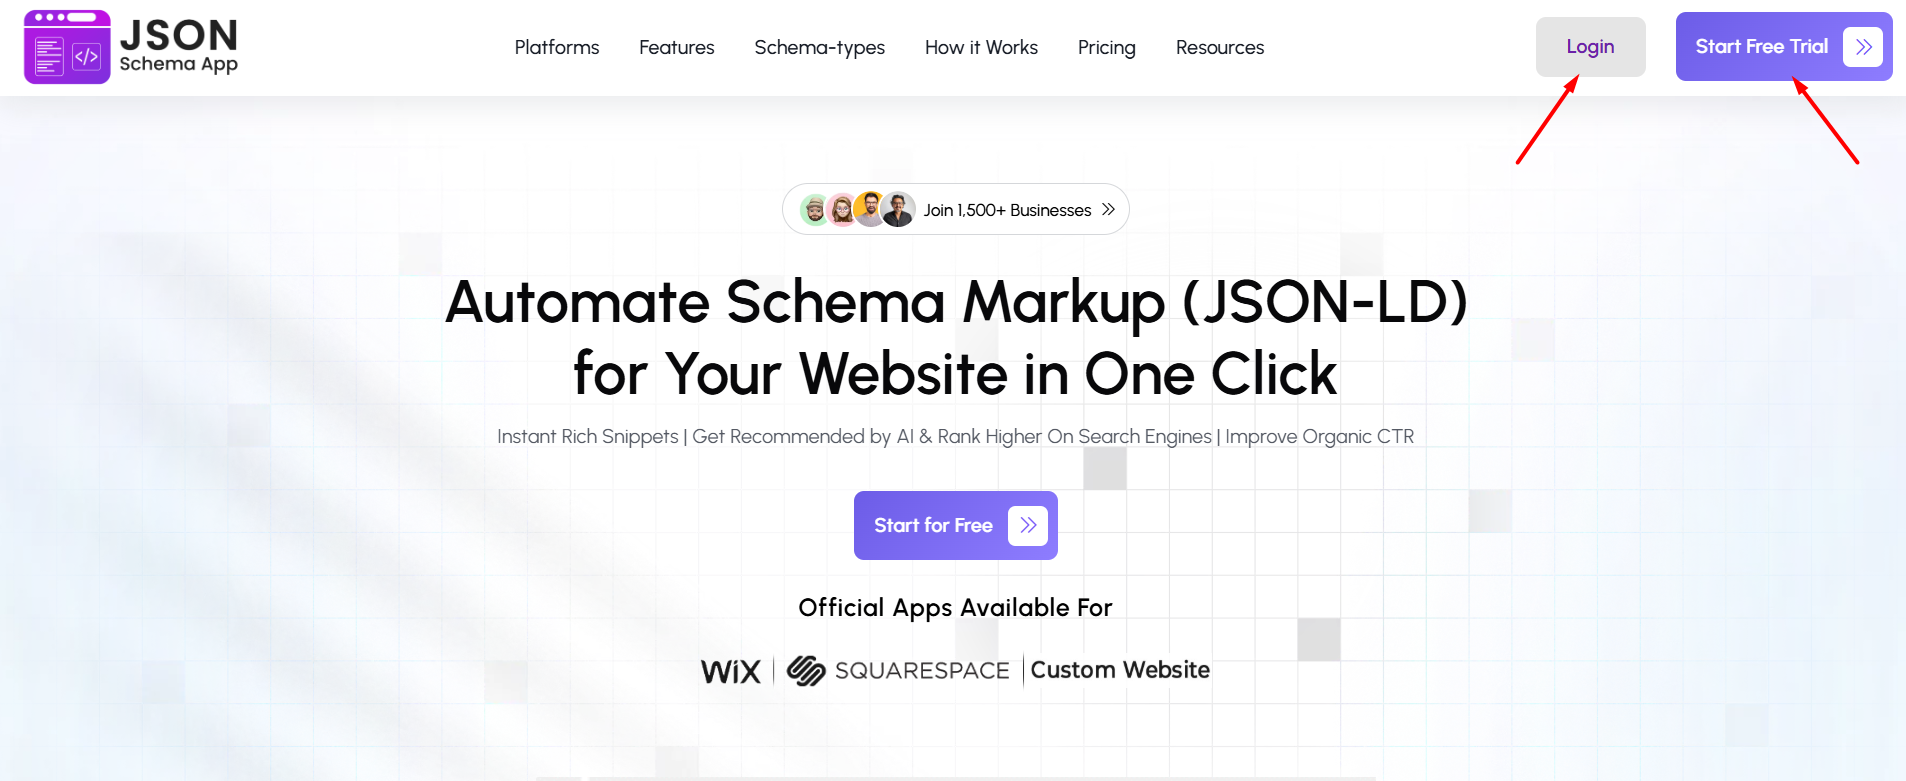
Step 1: Visit the JSON Schema App website and log in to your account. If you don’t have an account, click “Start Free Trial” to create one and begin.
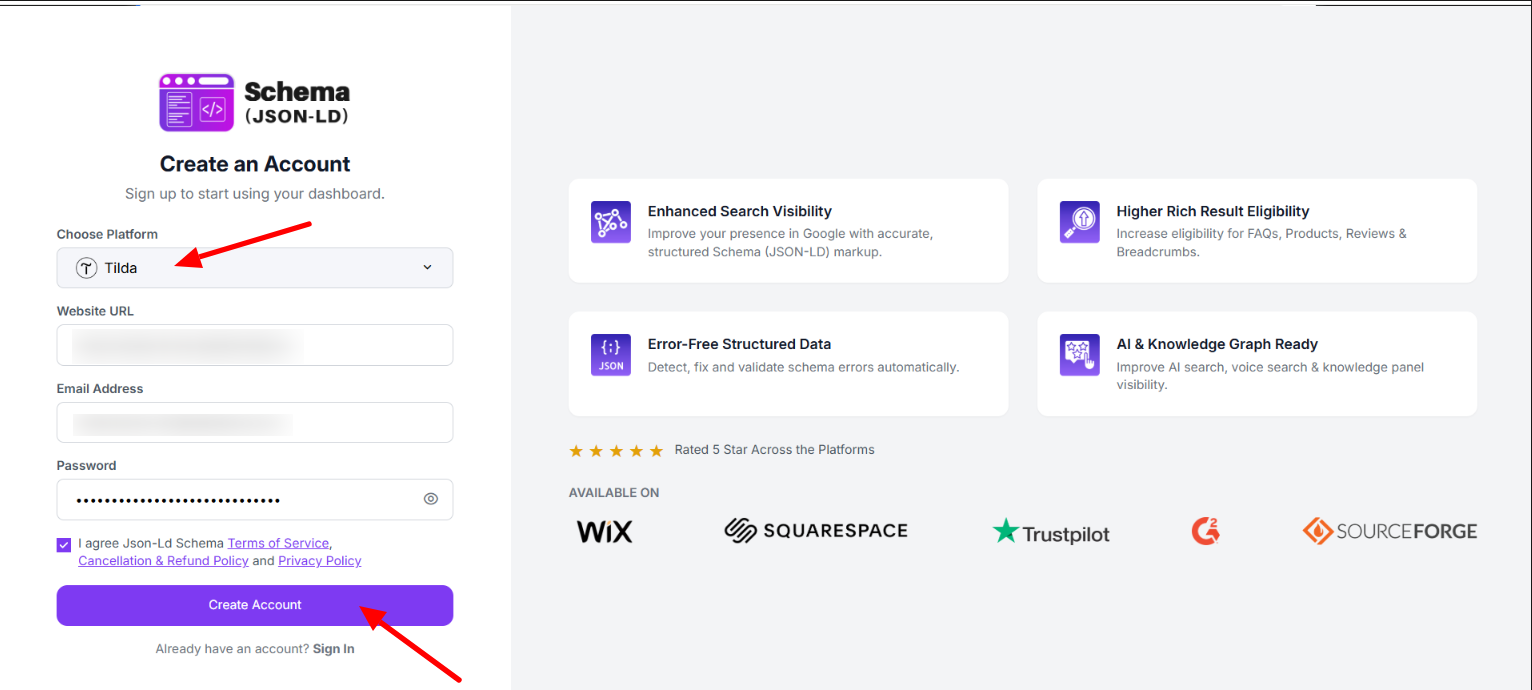
Step 2: Select Tilda as your platform, enter your website URL, email address, and create a password. Accept the terms and click “Create Account” to continue.
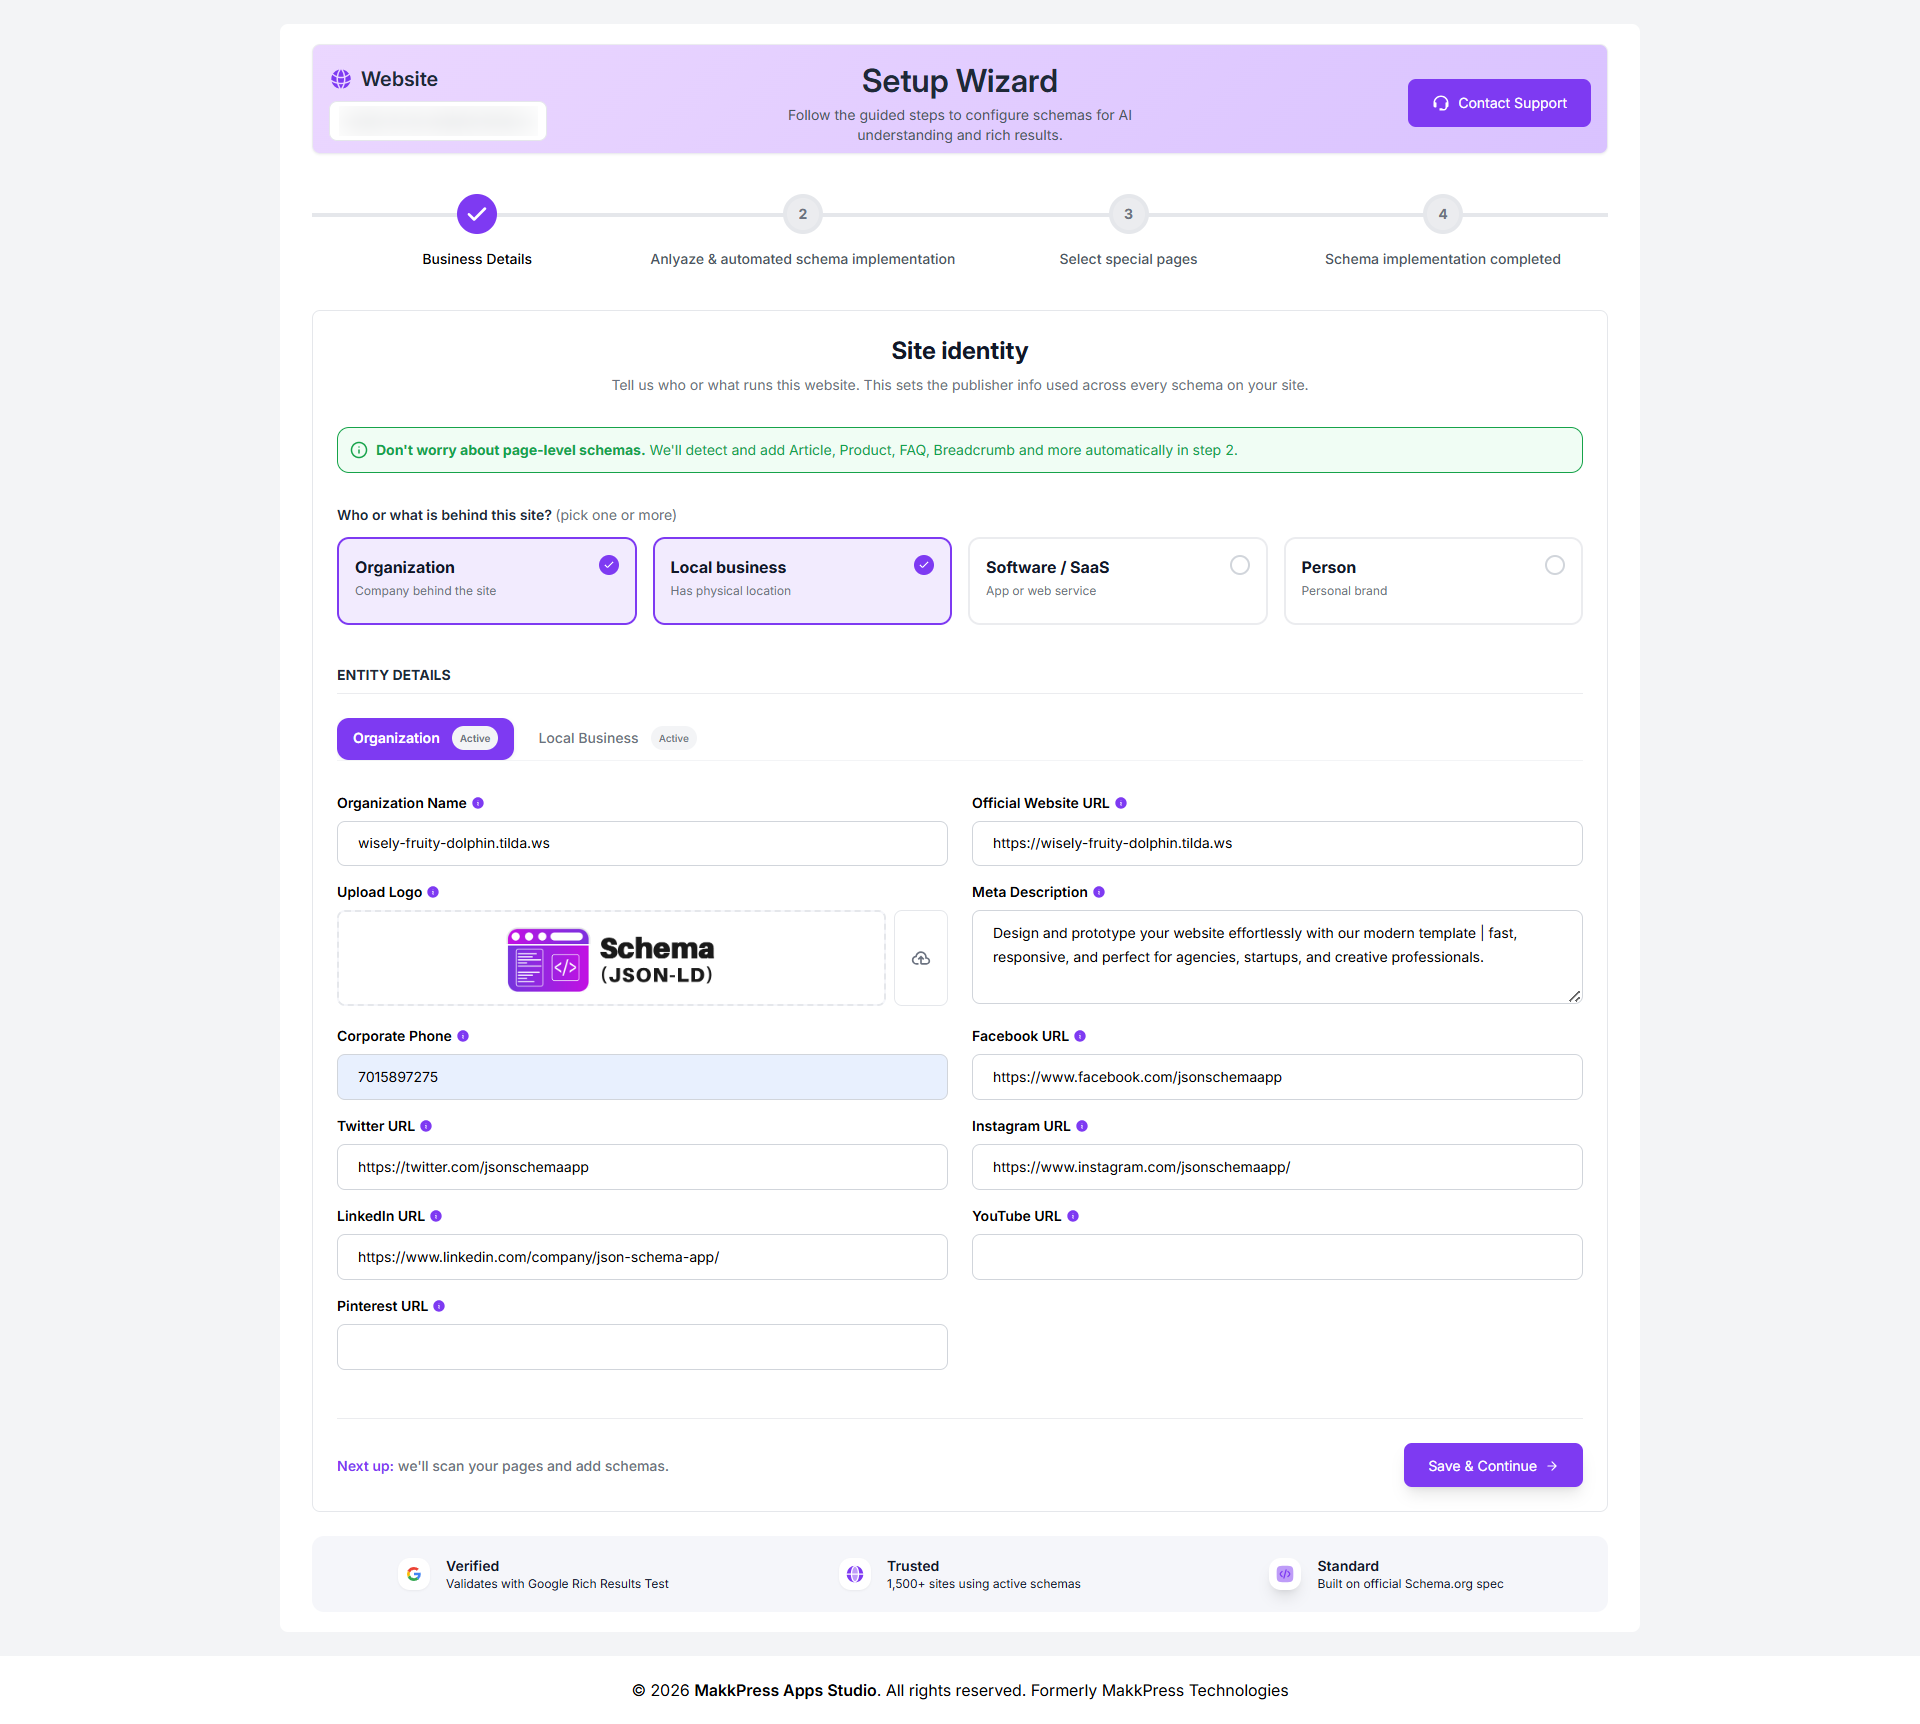
Step 3: Enter your business details such as organization name, website URL, logo, description, contact information, and address. Then click “Save Changes” to proceed.
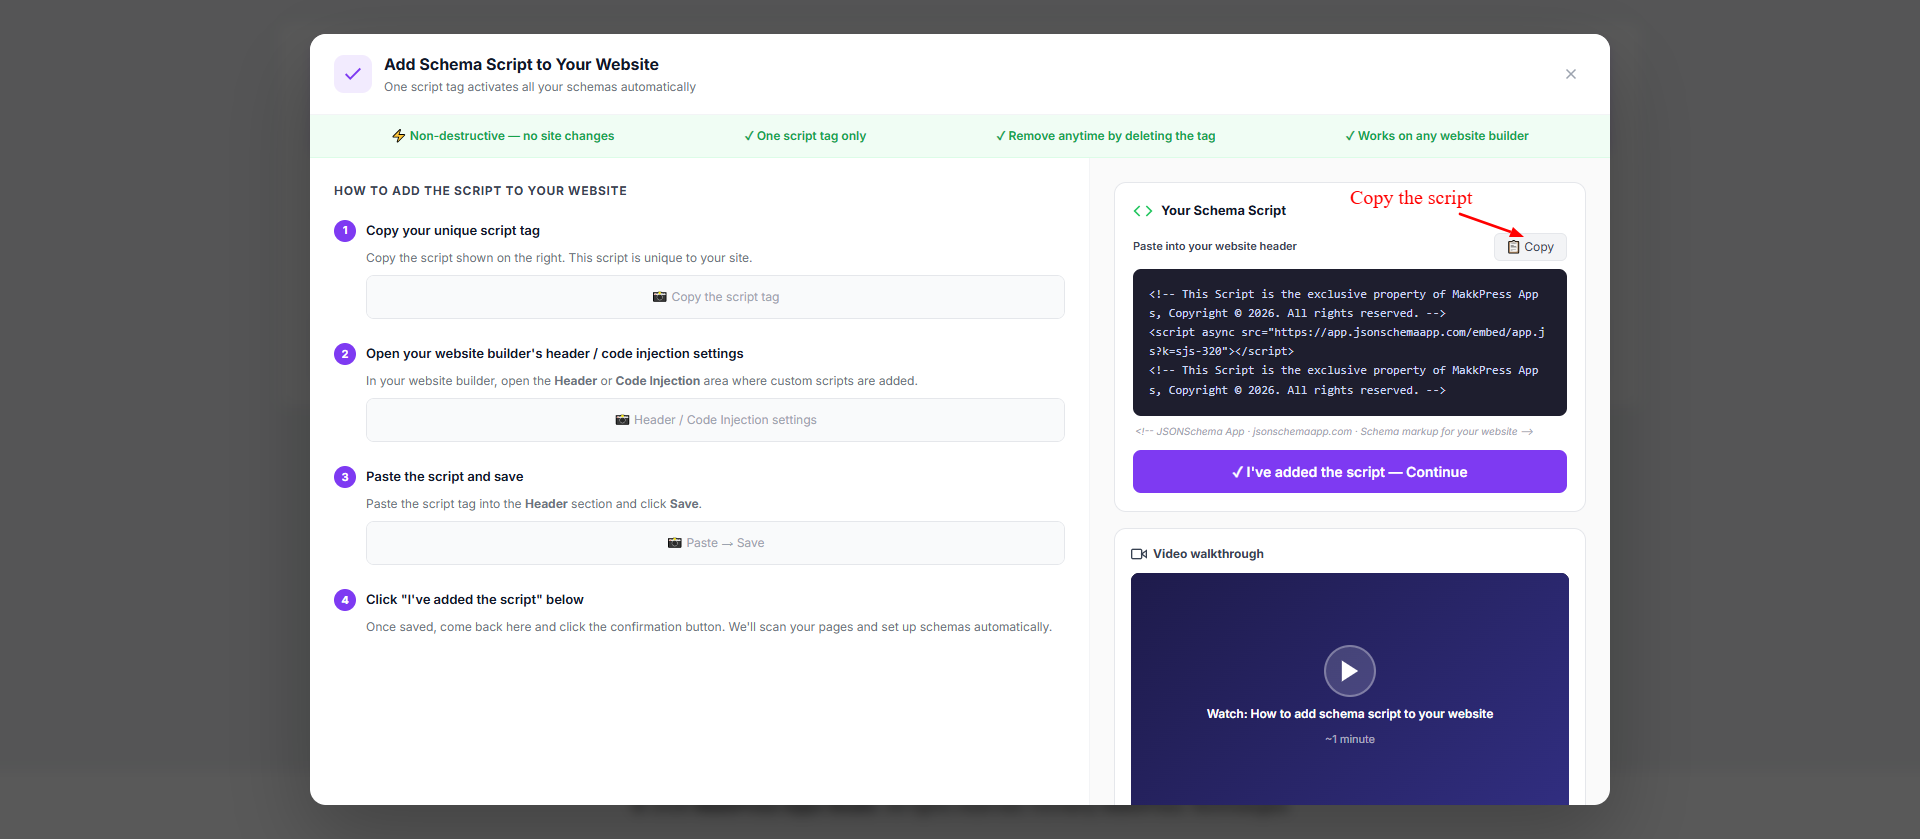
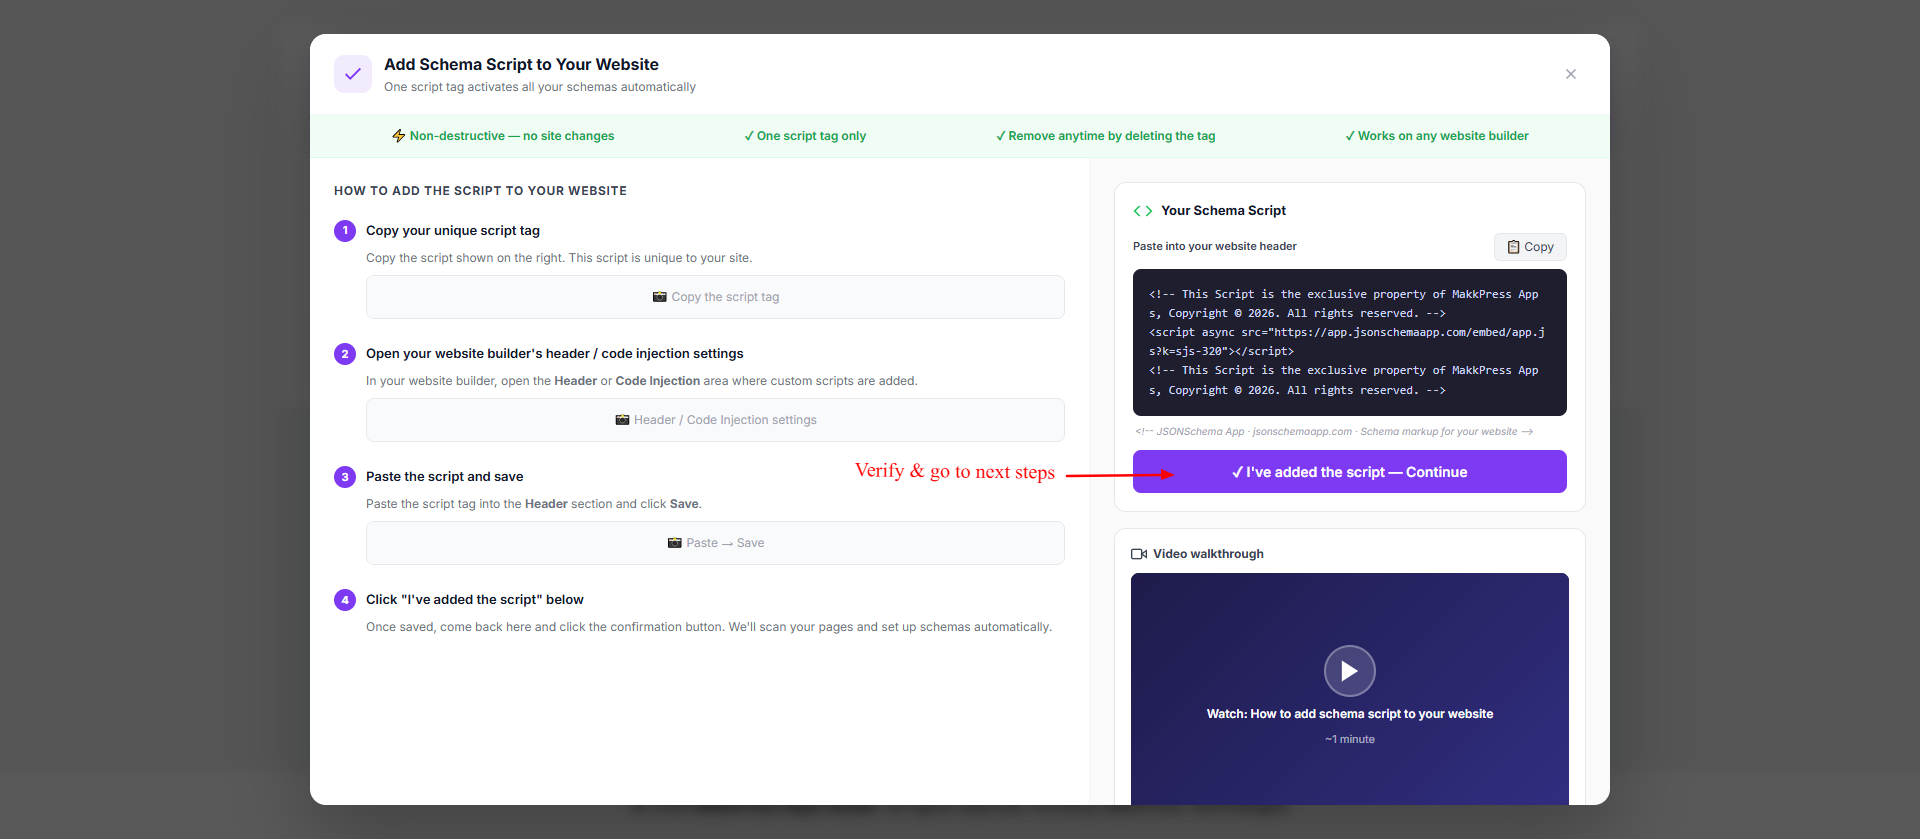
Step 4: In the setup screen, click “Copy Script” to copy the generated script. This code will be added to your Jimdo website.
Step 5: Log in to your Tilda account and open the website project where you want to add the script. From the project dashboard, click the Site Settings button to open your website settings.

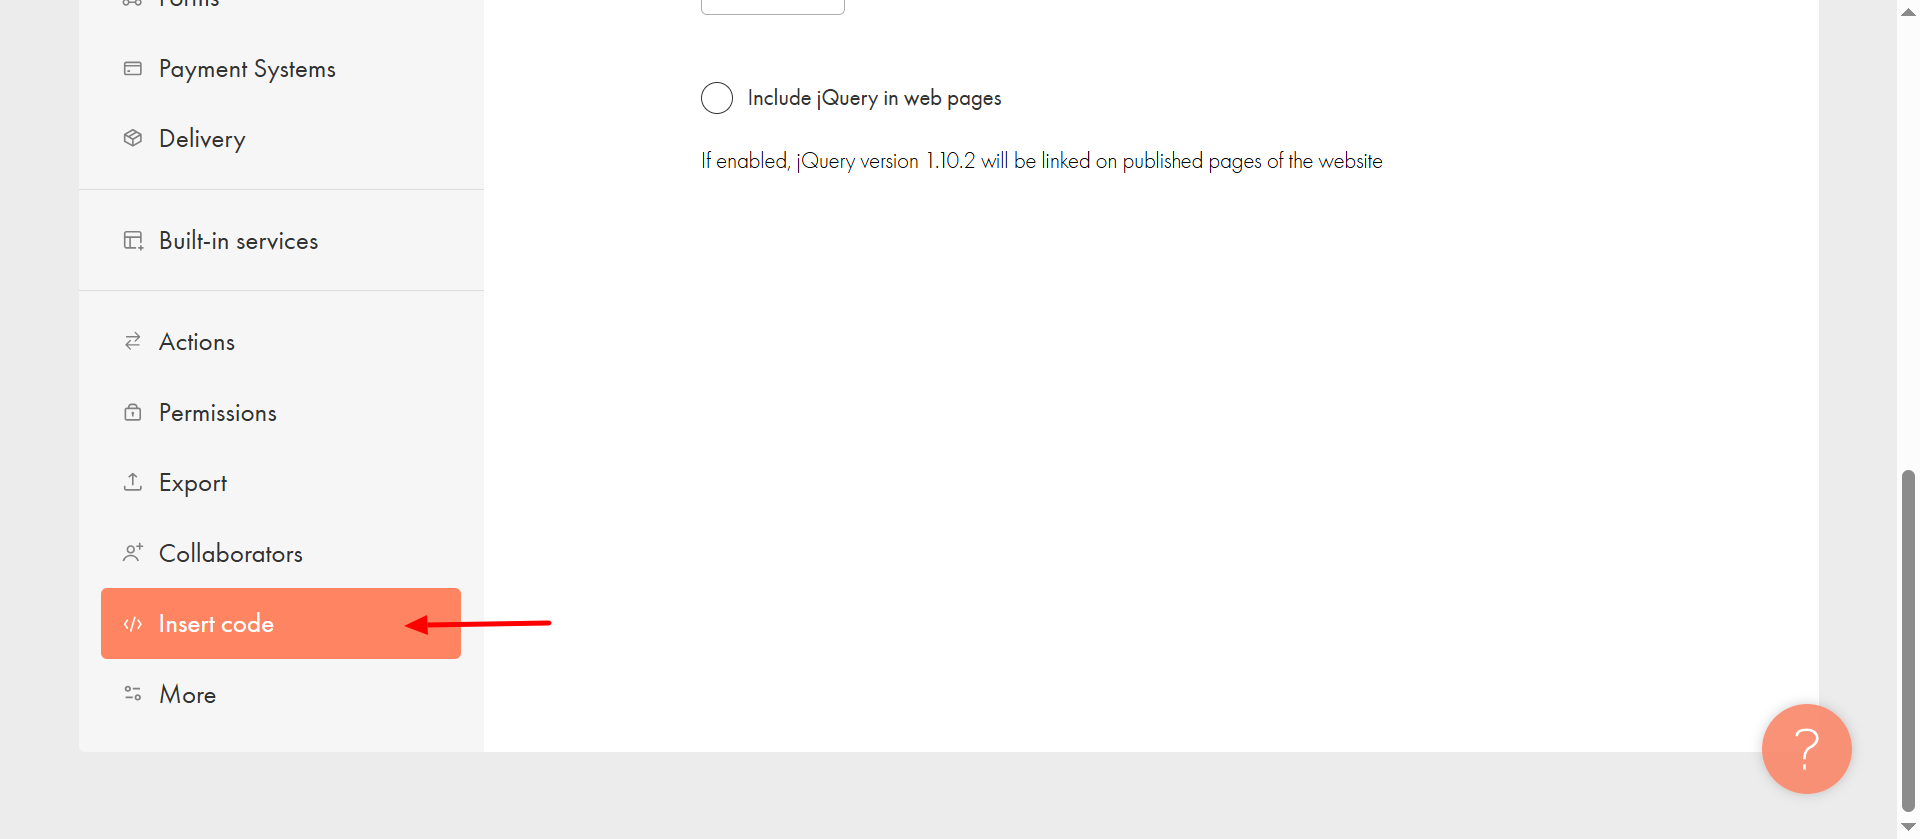
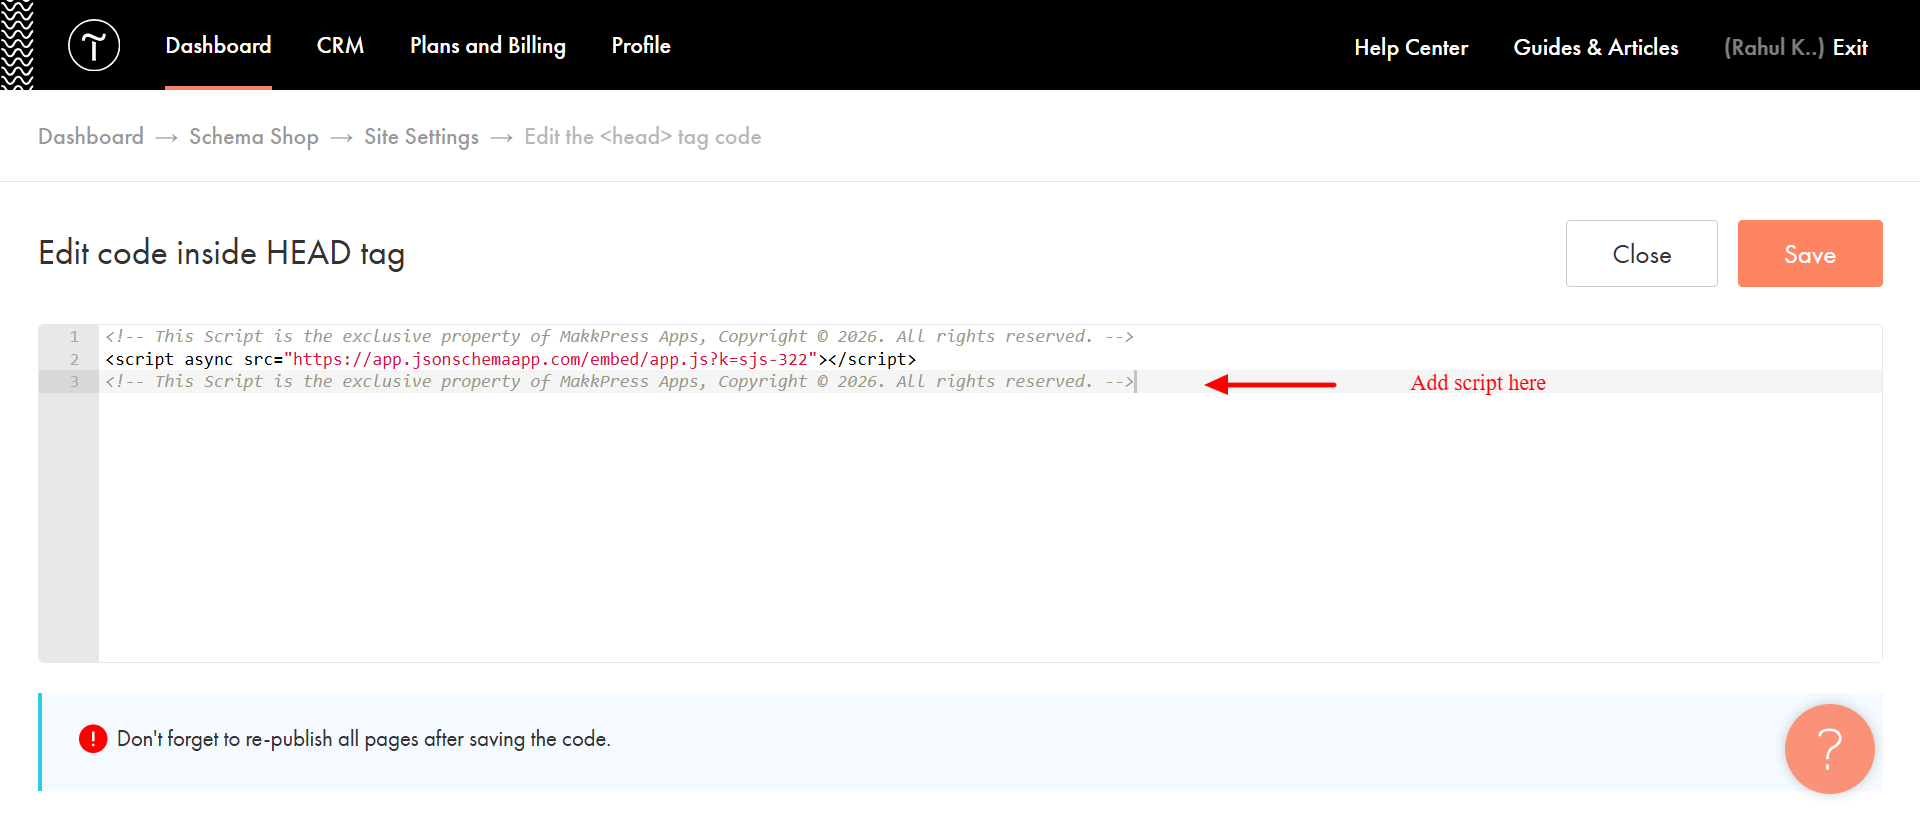
Step 6: In the Site Settings menu, scroll down and click Insert code from the left sidebar. Under the HEAD section (Edit code inside HEAD tag), paste the copied script into the code editor and click Save.
Step 7: Click Save, then return to the dashboard and select Publish All Pages to apply the changes site-wide.
Step 8: Return to the JSON Schema App and click “I’ve added the script — Continue” to verify the installation and proceed to the next steps.
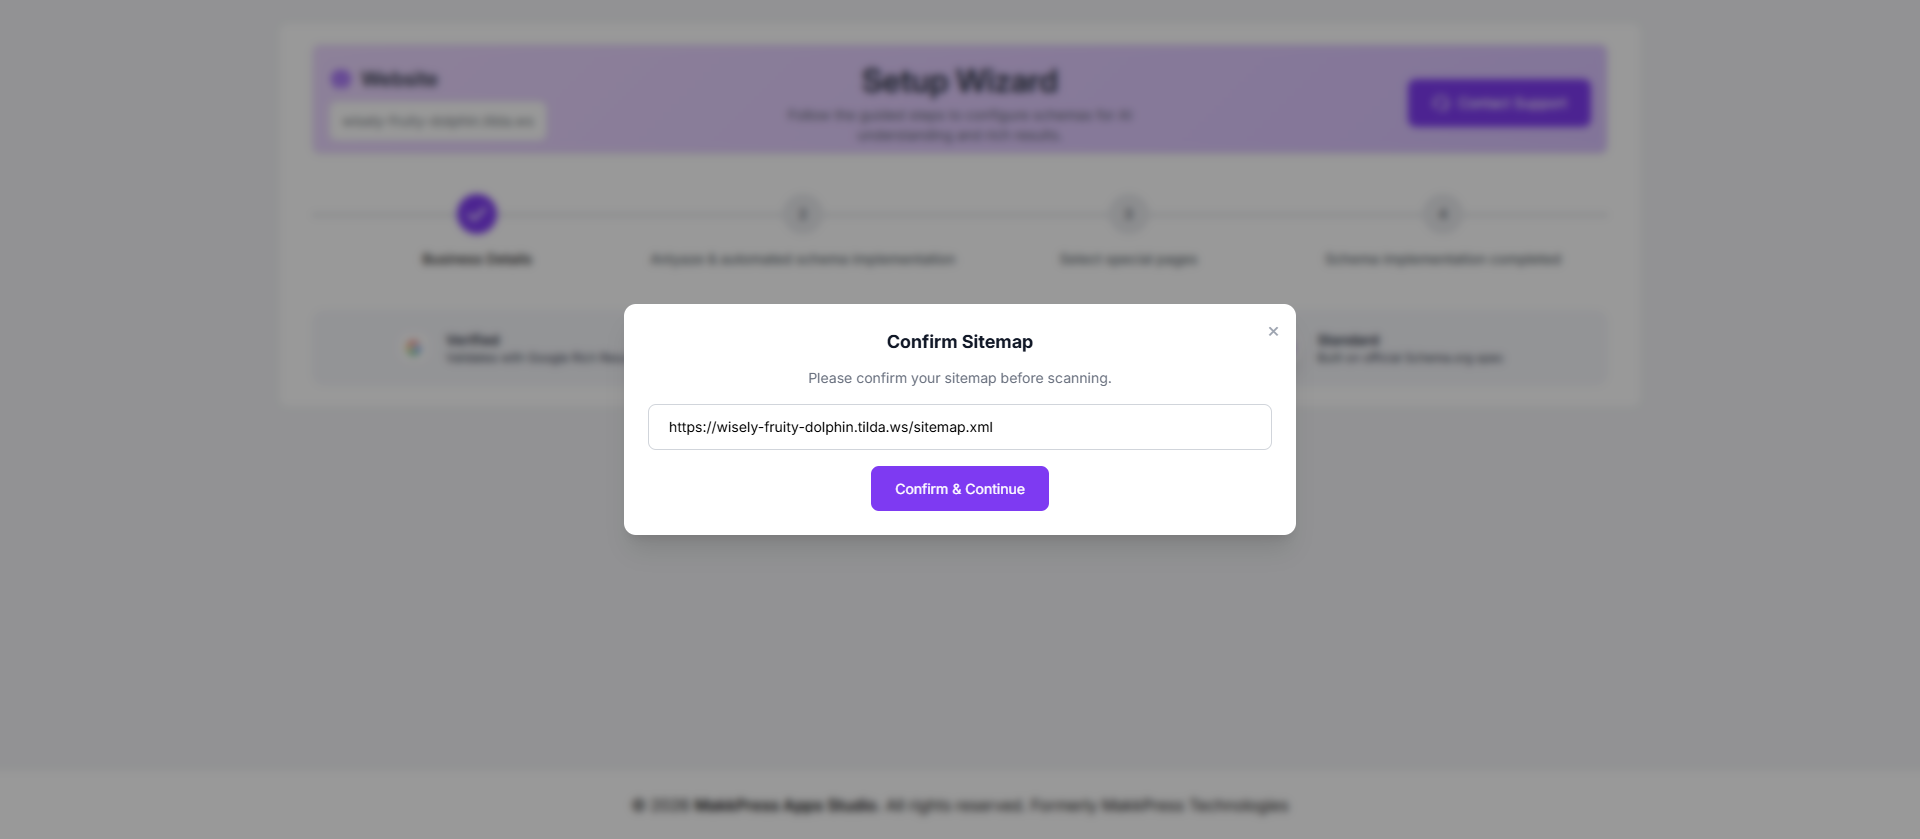
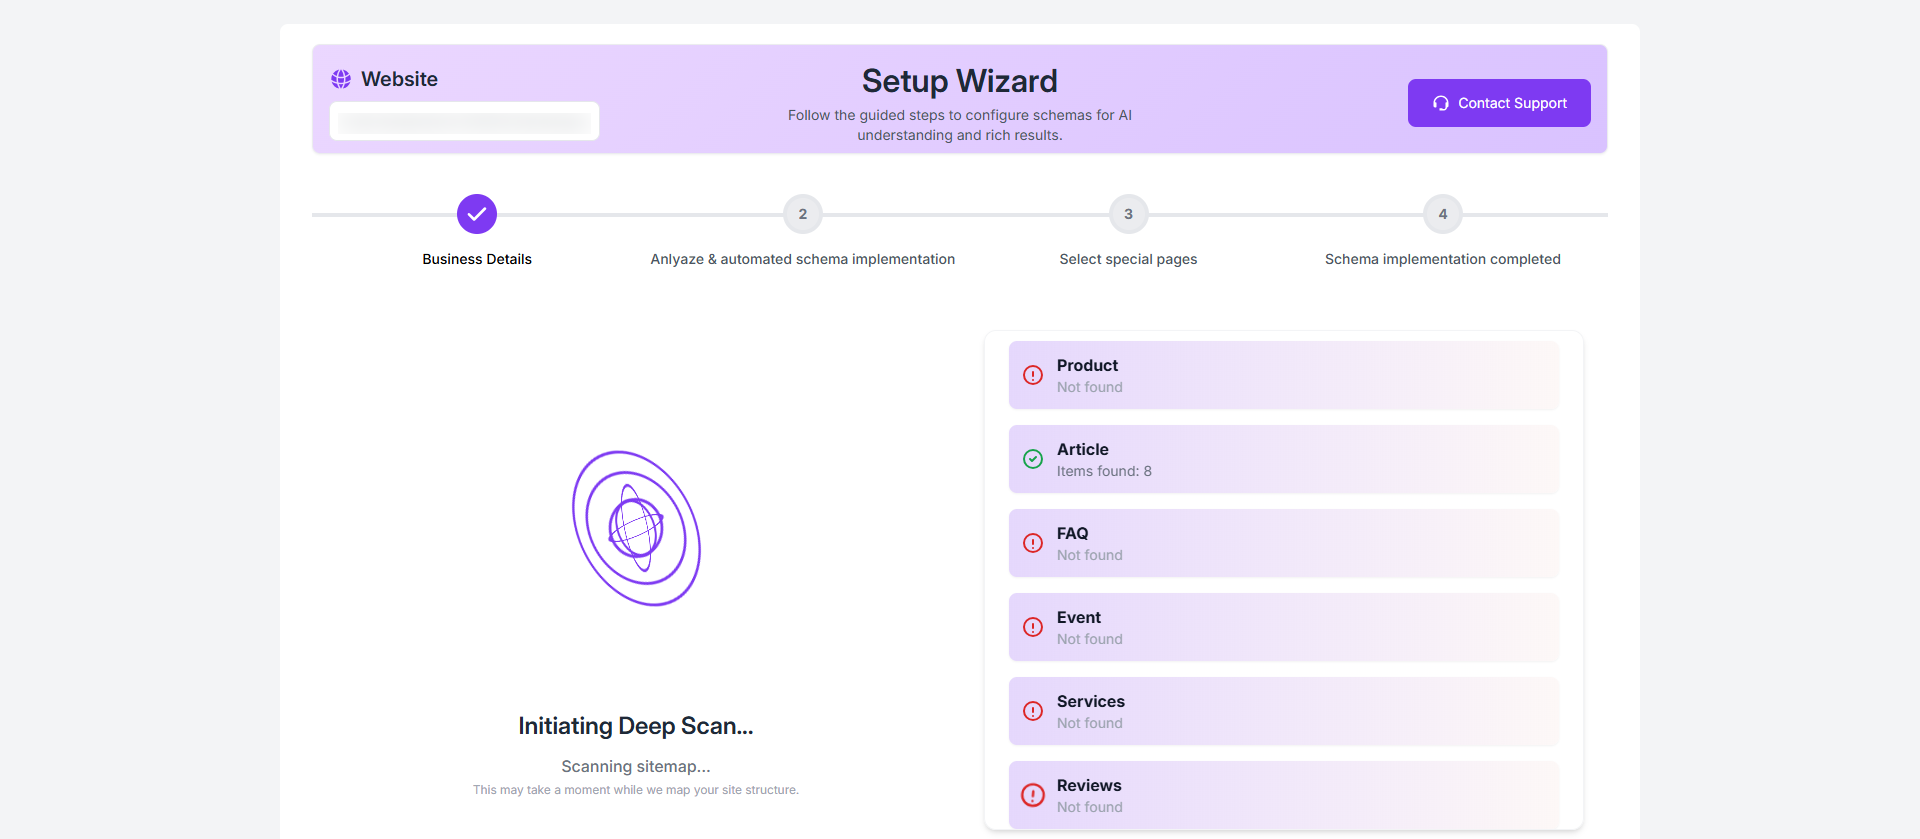
Step 9: Confirm your website sitemap URL and click “Confirm & Continue” to allow the tool to scan your Tilda website.
Step 10: The tool will start a deep scan of your website to identify pages and detect applicable schema types automatically.
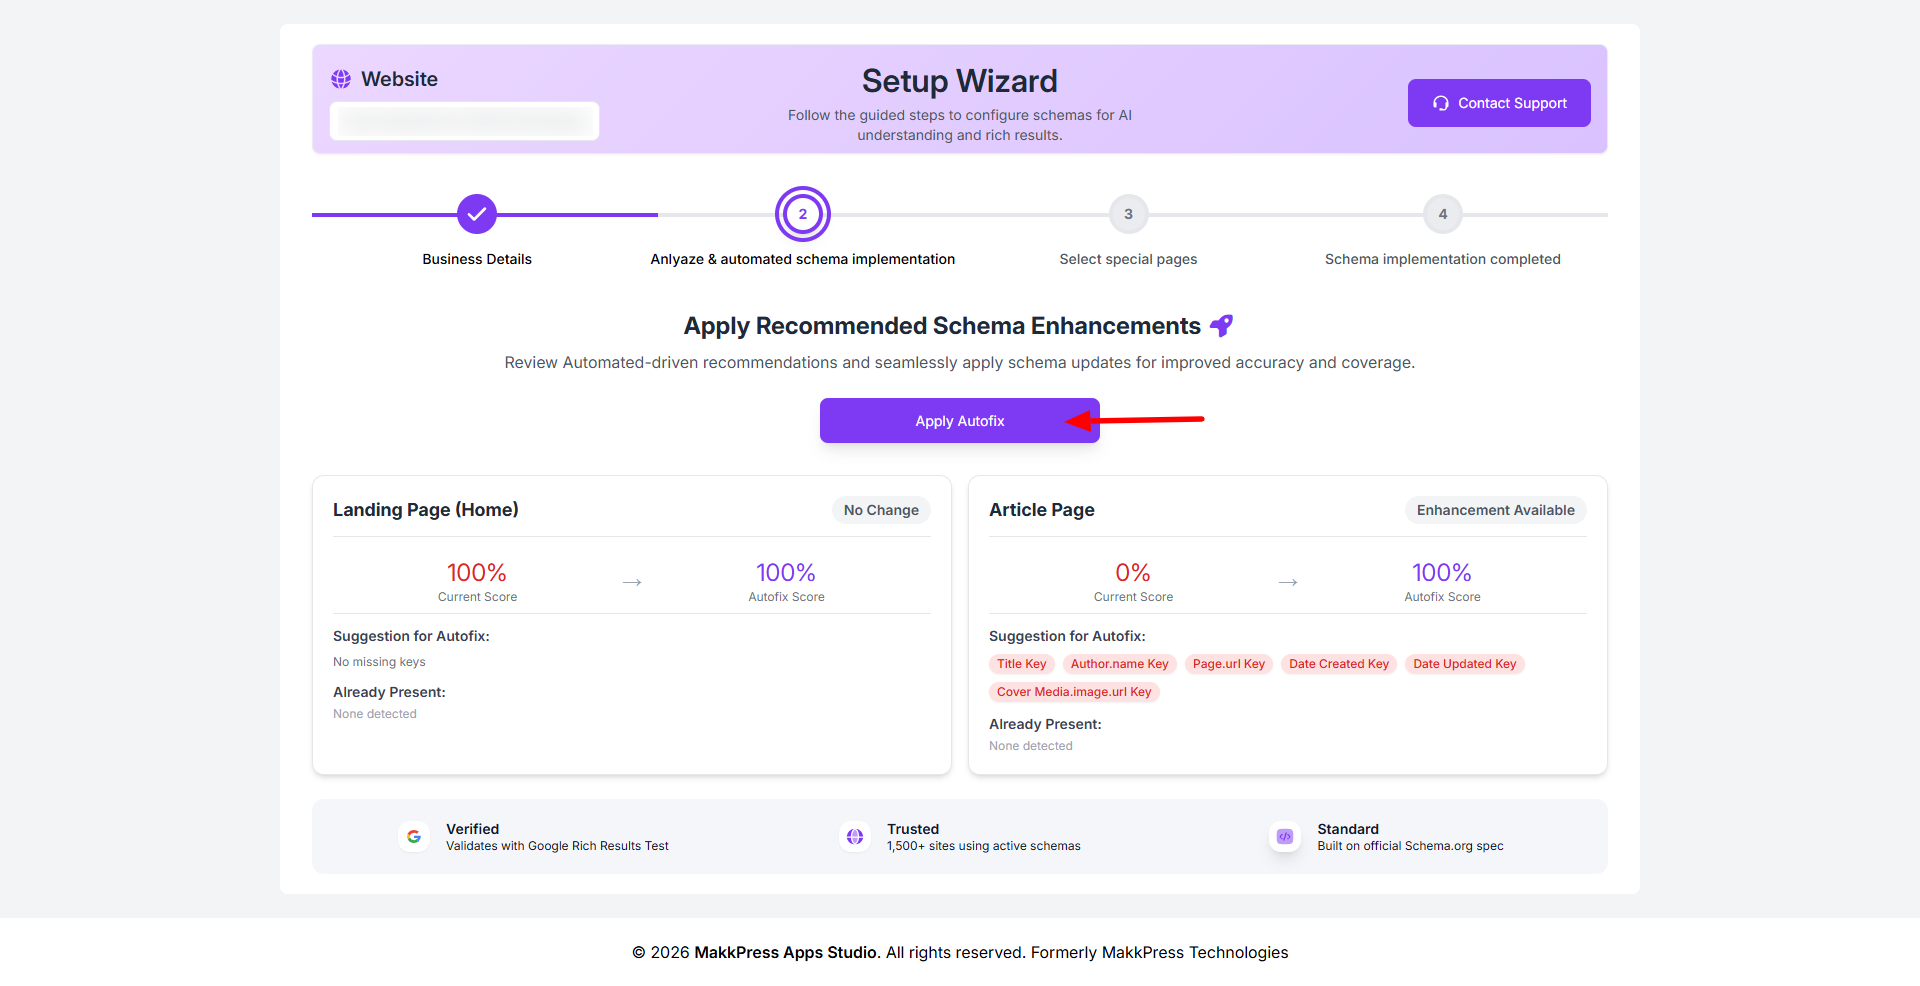
Step 11: Review the suggested schema improvements and click “Apply Autofix” to automatically implement the recommended updates.
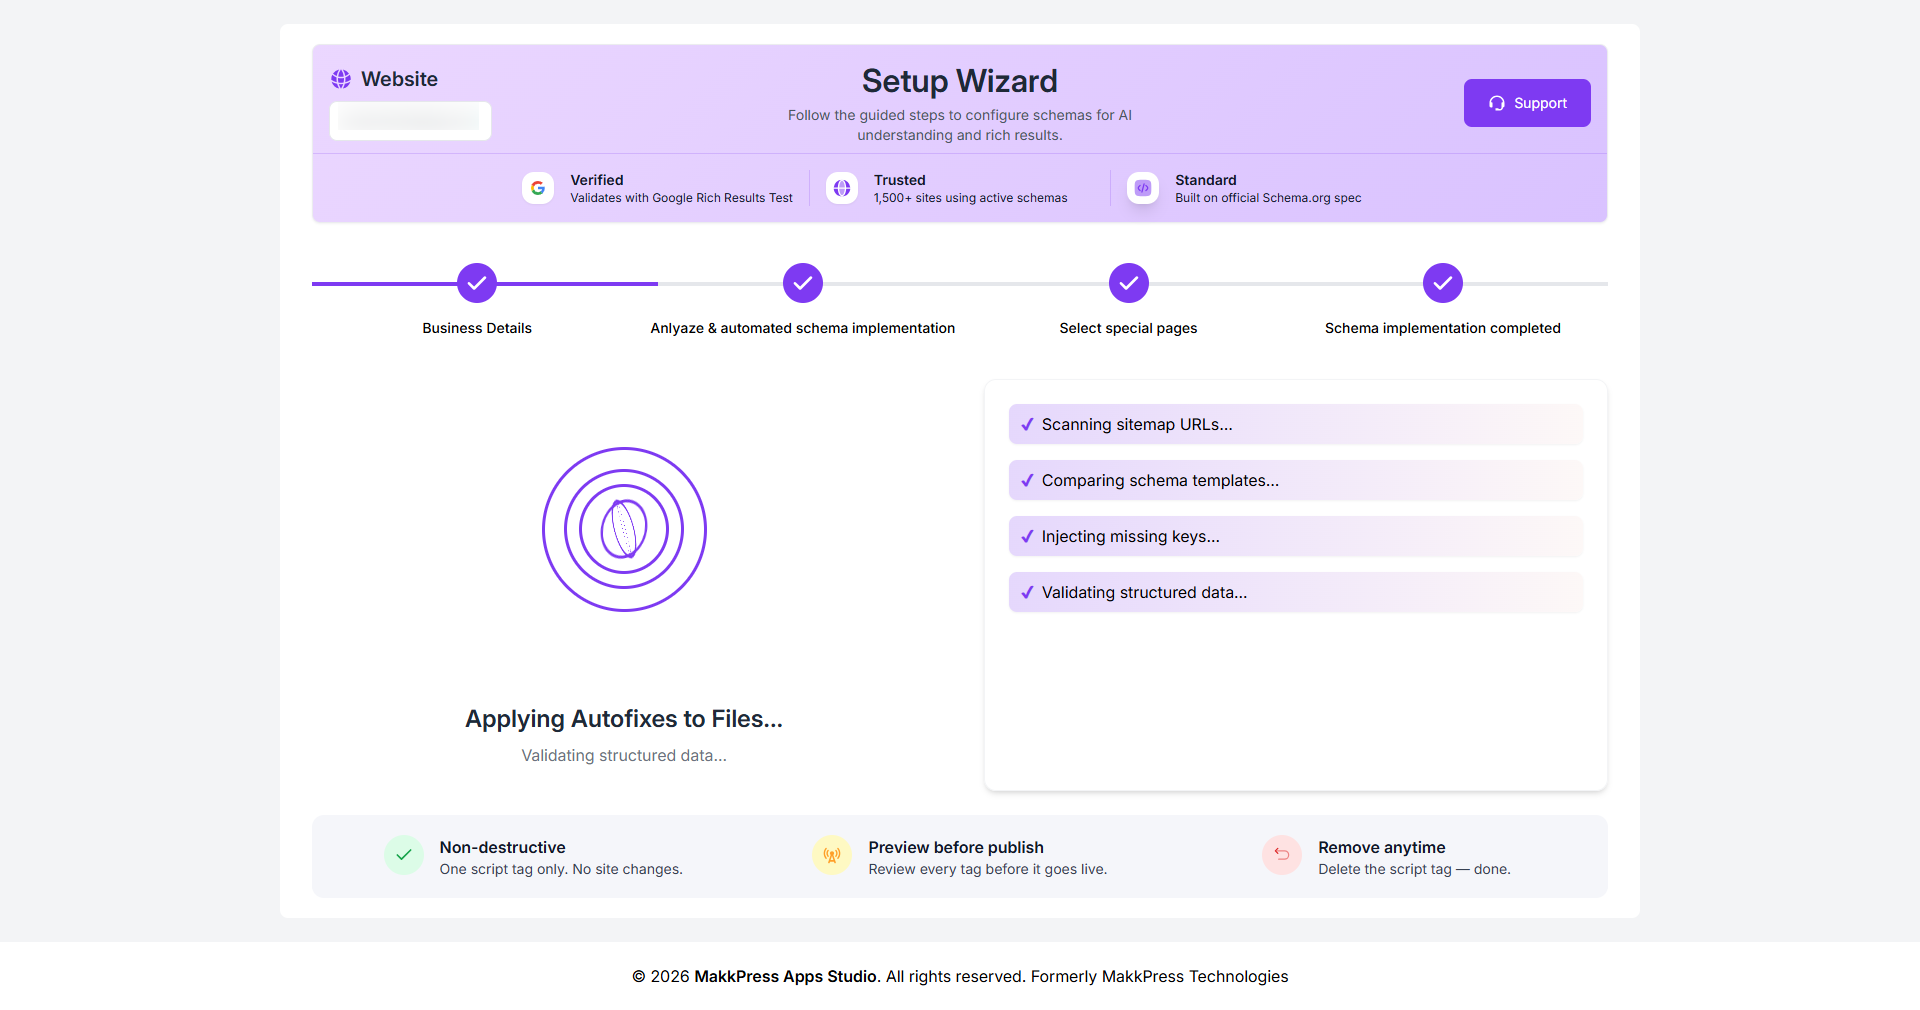
Step 12: The app will now apply autofixes and validate your structured data to ensure everything is correctly implemented across your website.
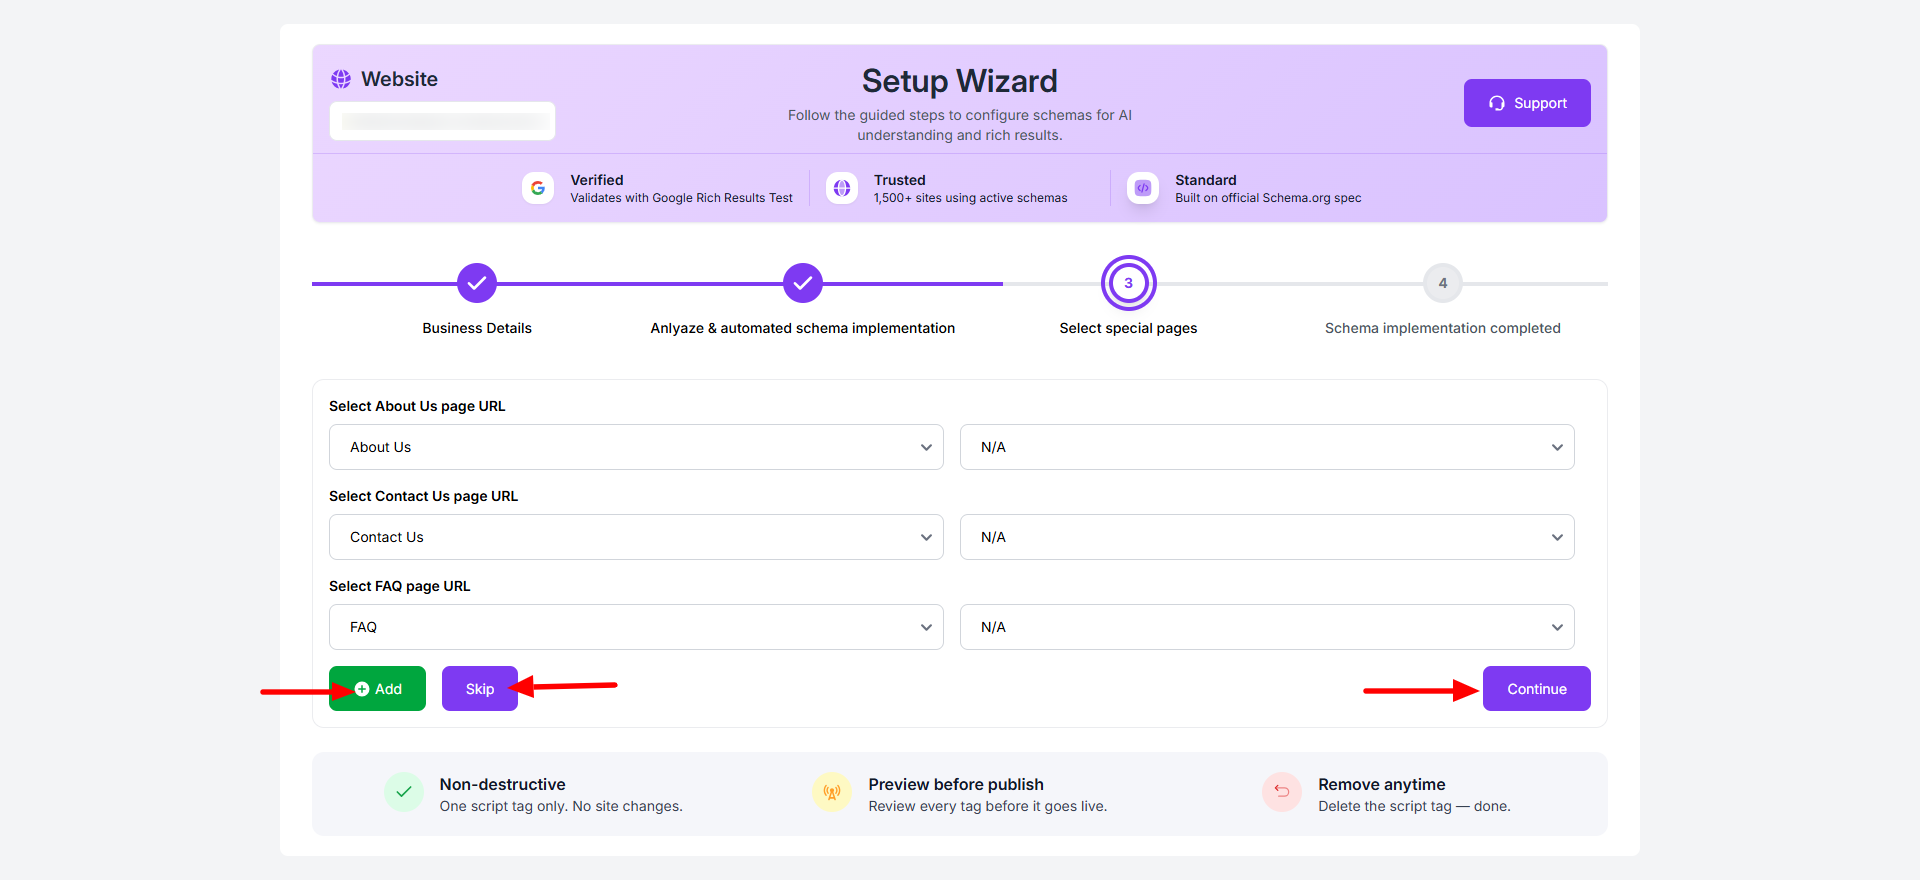
 Step 13: Select important pages like About Us, Contact Us, and FAQ from the dropdown options. You can add more pages or skip optional ones, then click “Continue” to proceed.
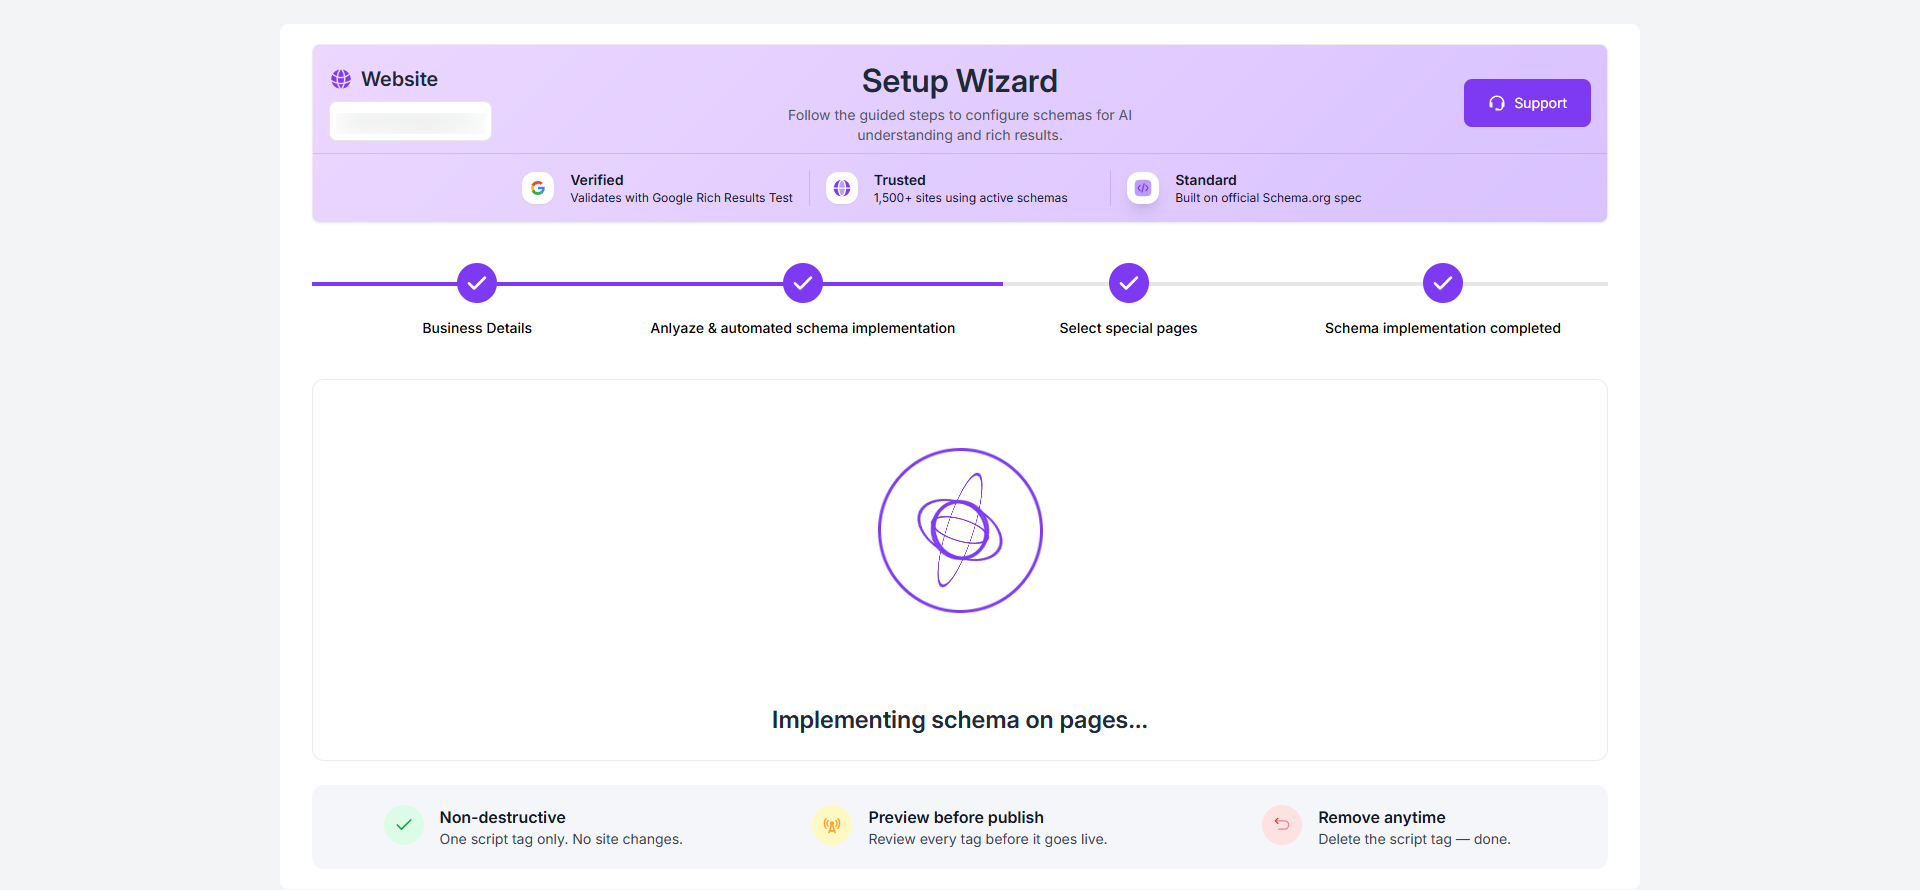
Step 14: The tool will now implement schema across your website pages automatically.
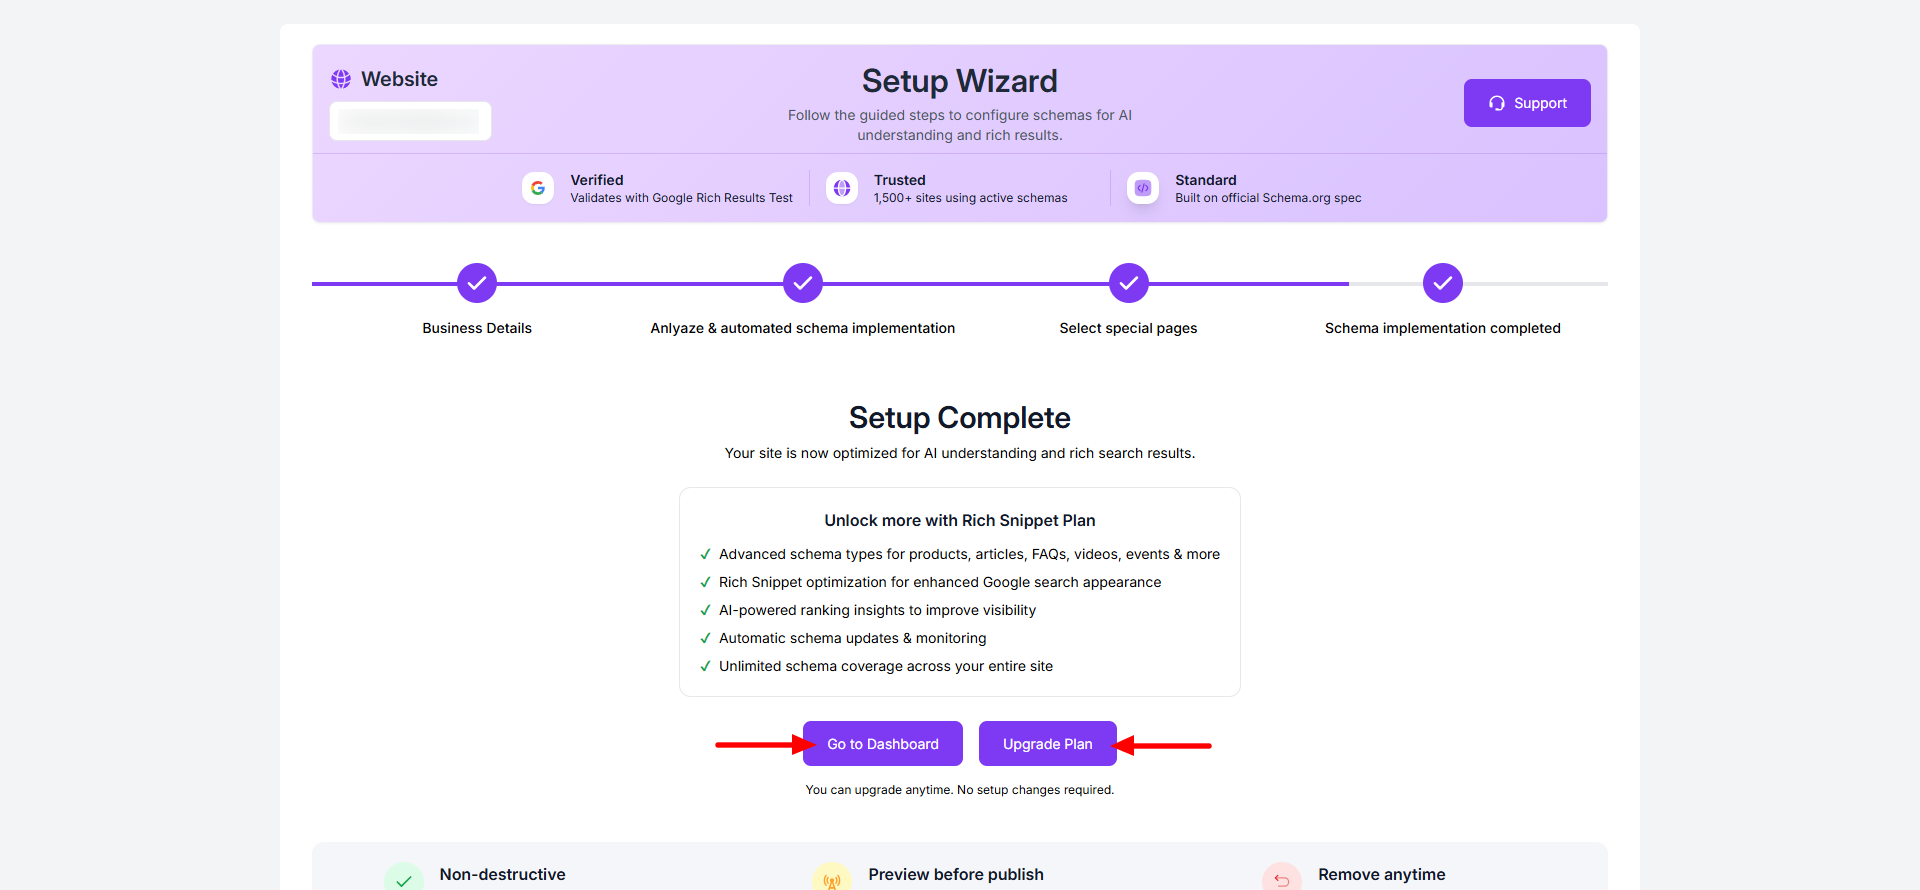
Step 15: Your setup is now complete. Click “Go to Dashboard” to manage your schema settings or choose “Upgrade Plan” to access additional features.
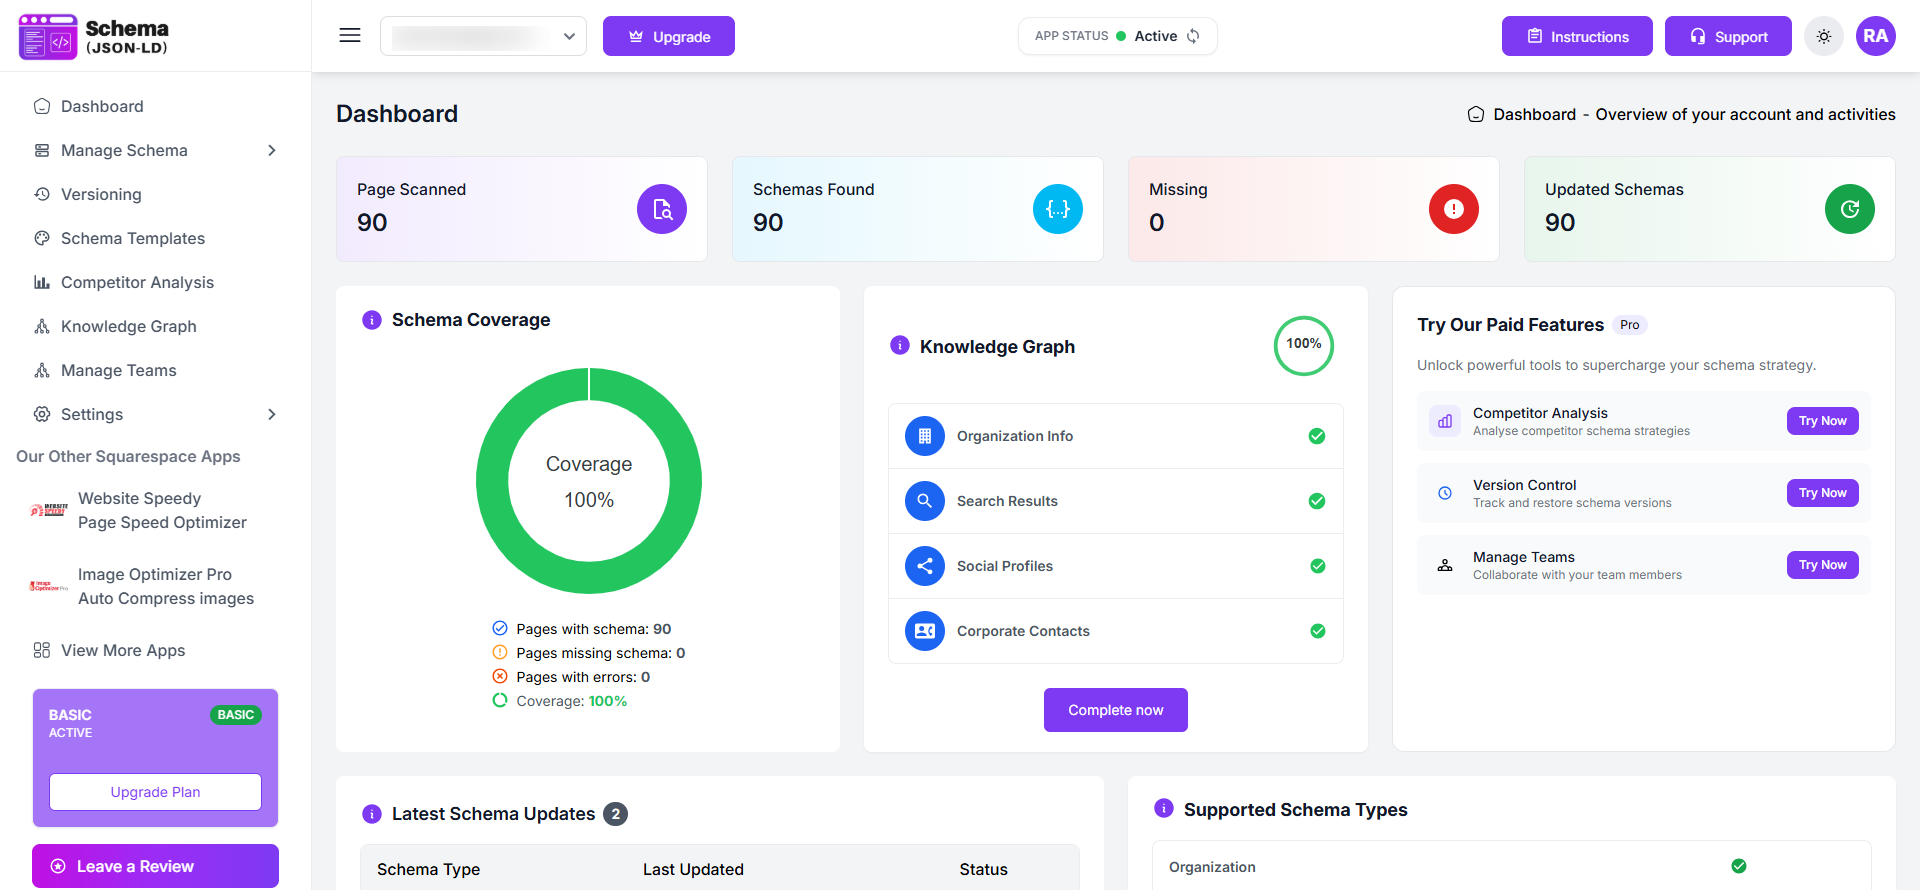
Step 16: After setup, you’ll be redirected to the dashboard where you can monitor schema coverage, track performance, and manage your structured data anytime.
Found this helpful?
( 0 out of 0 found helpful )
